

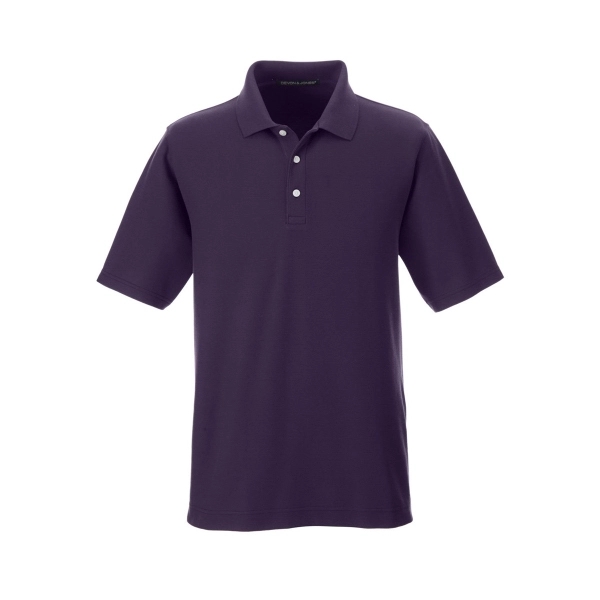
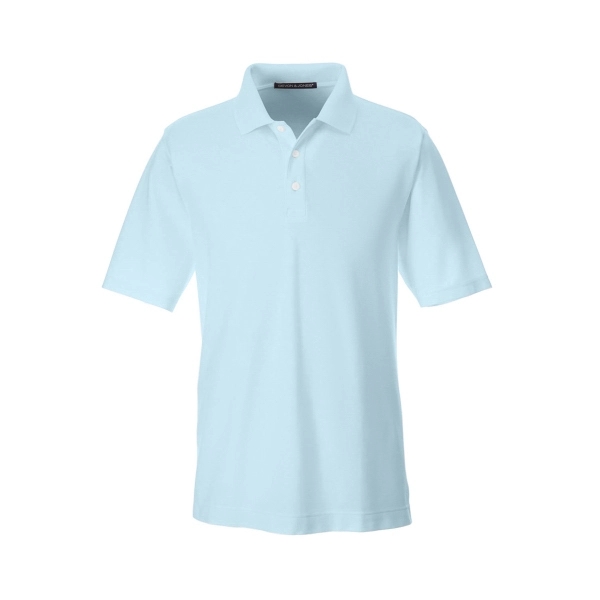
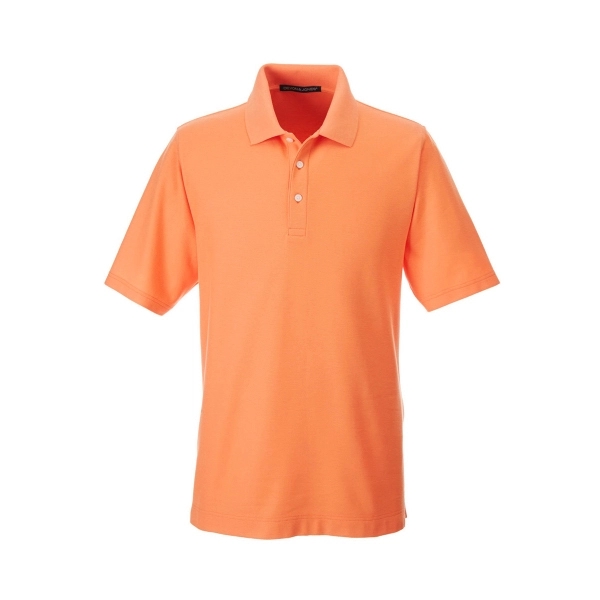
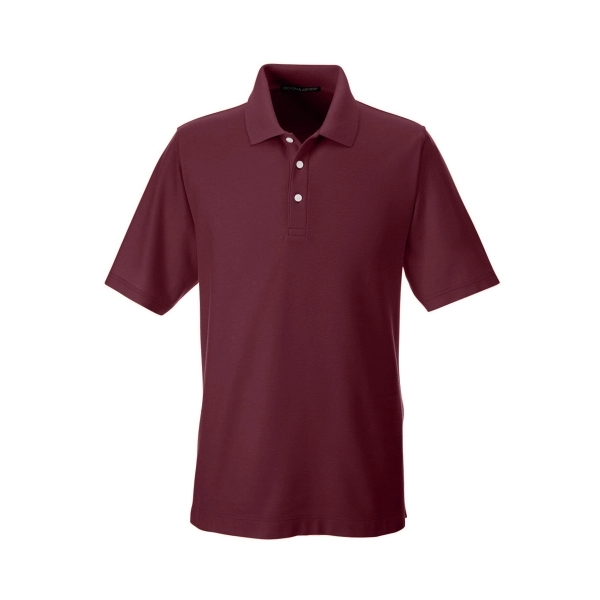
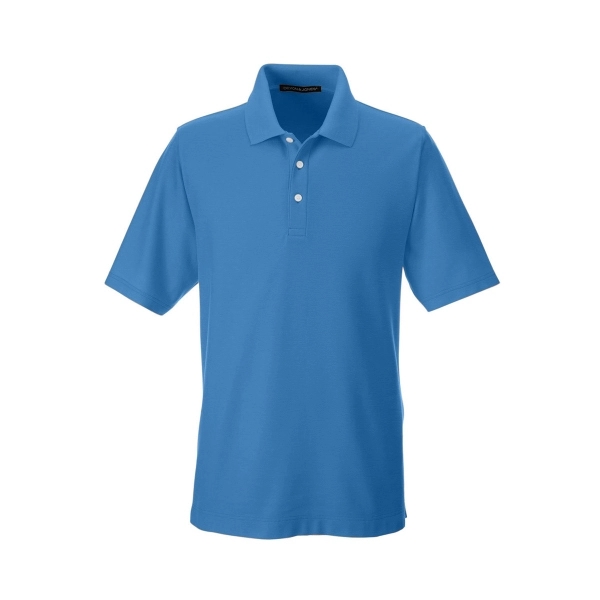
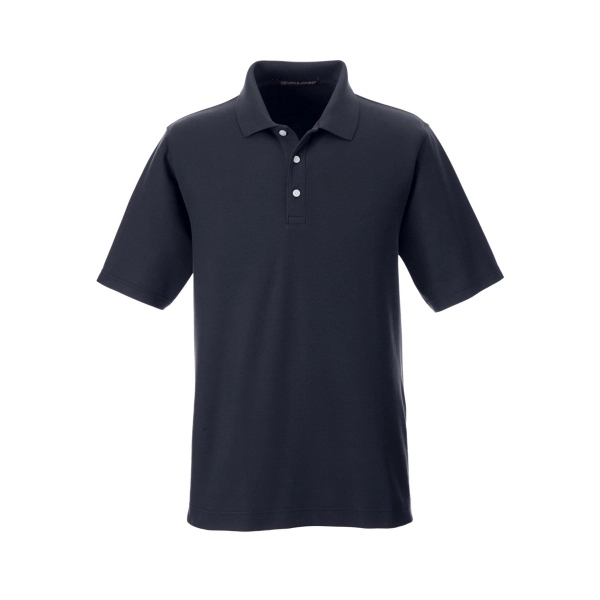
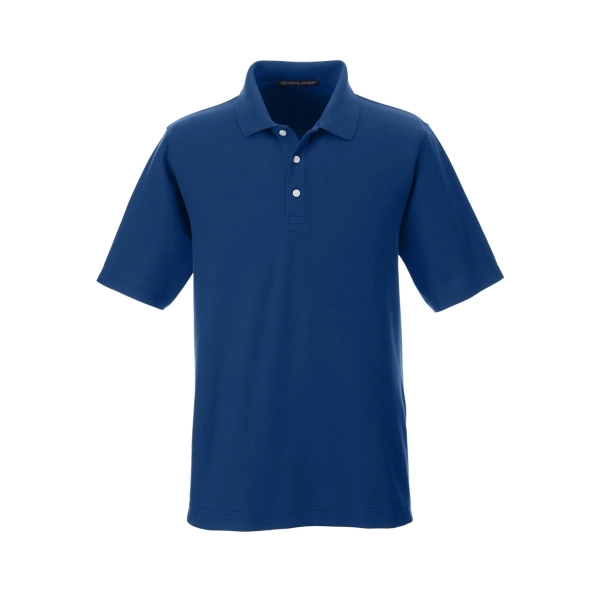
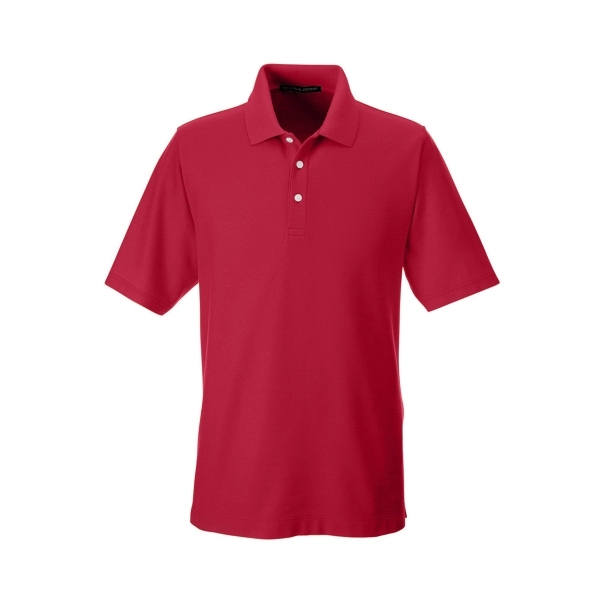
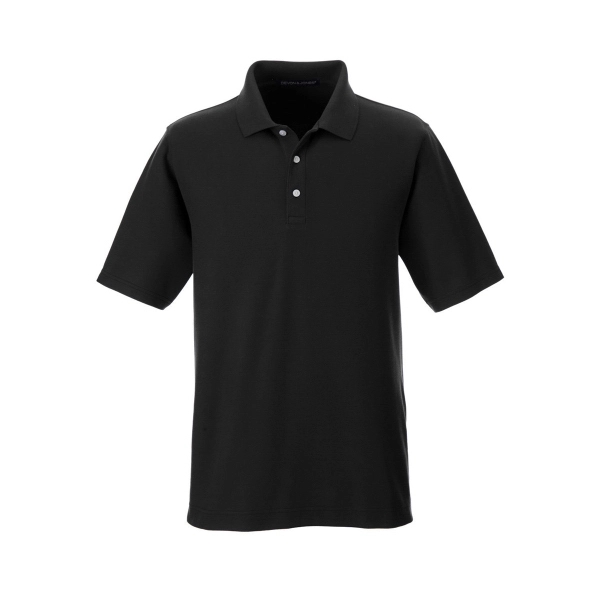
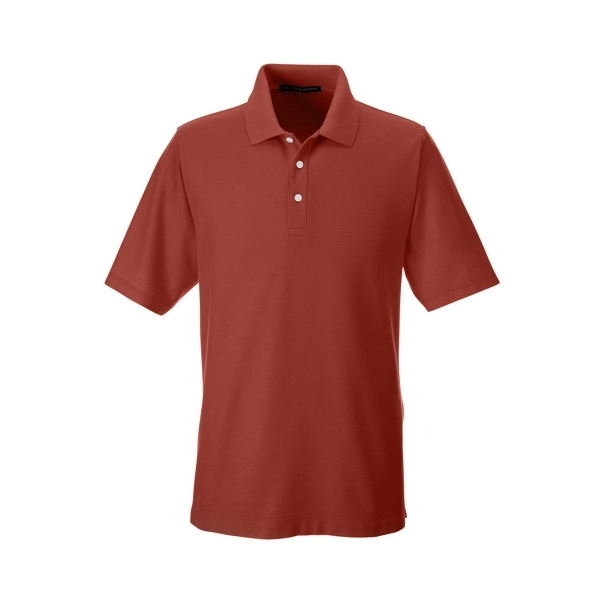
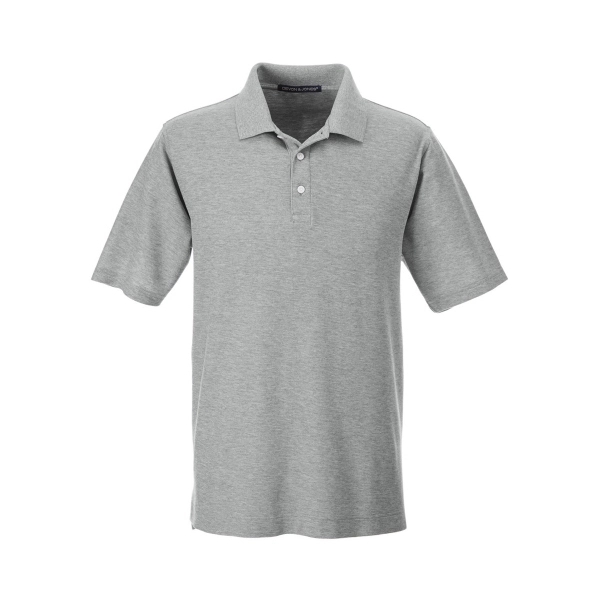
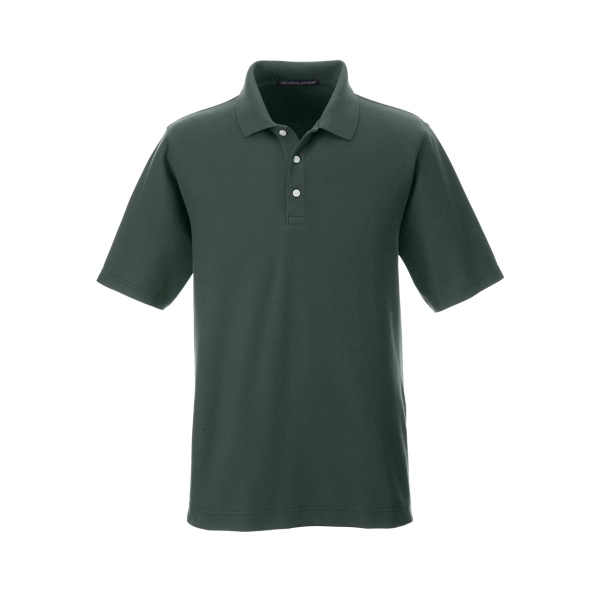
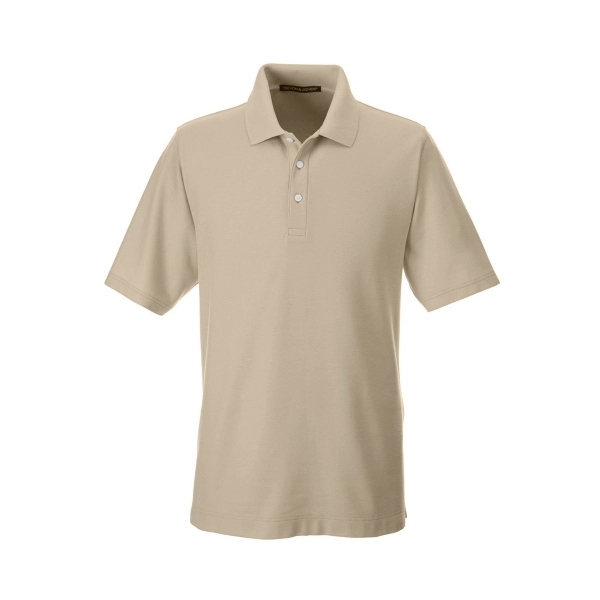
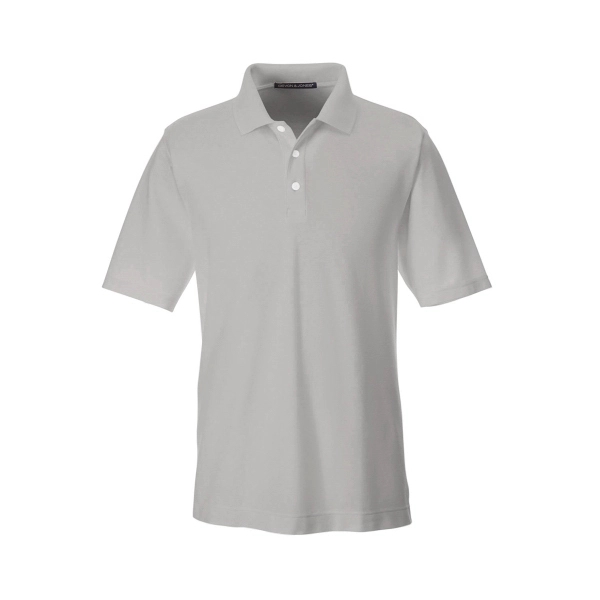
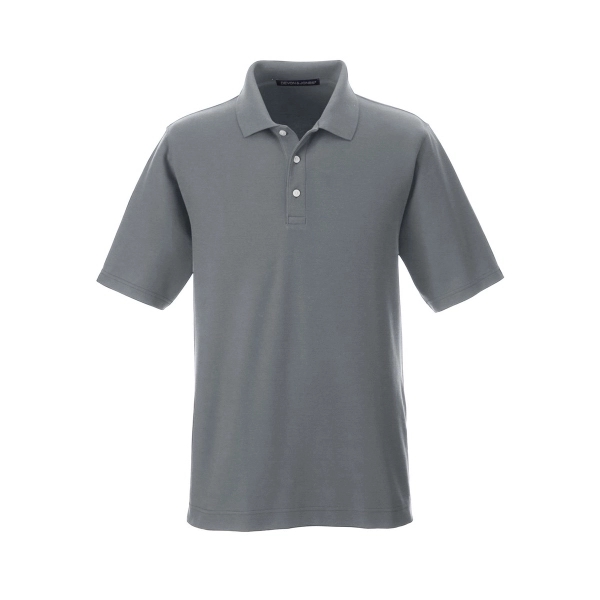
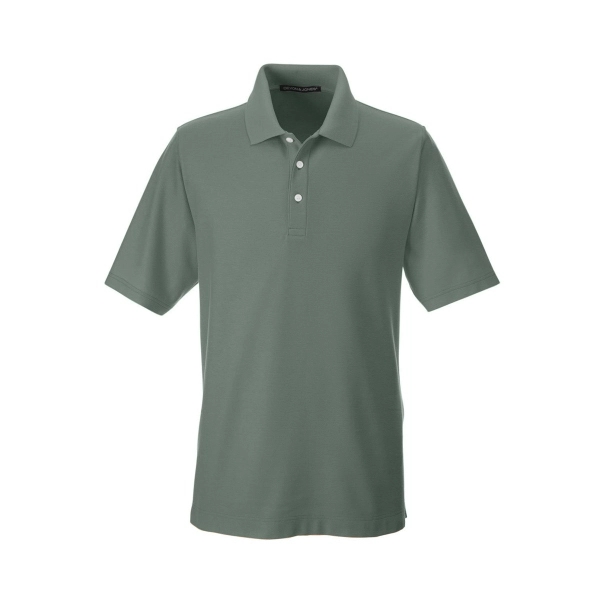

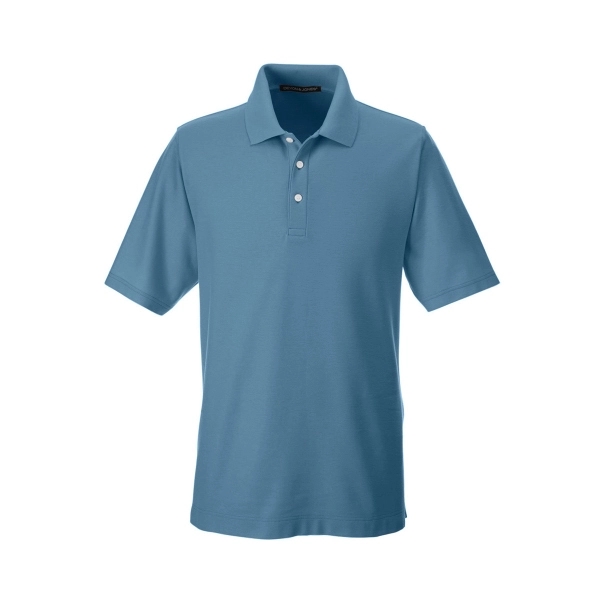
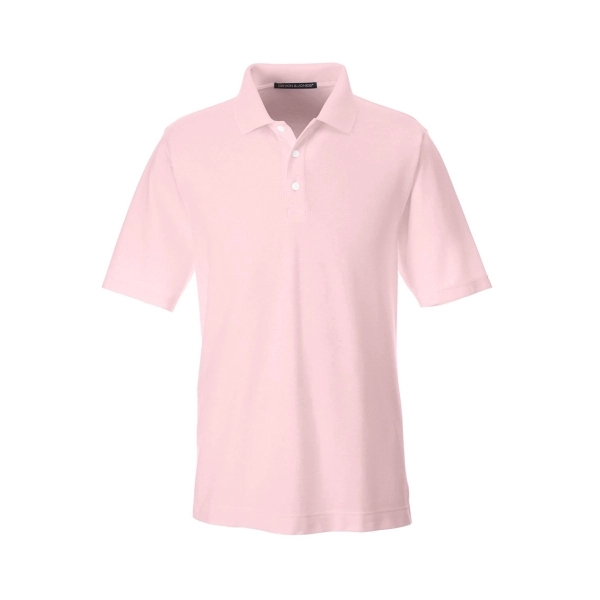

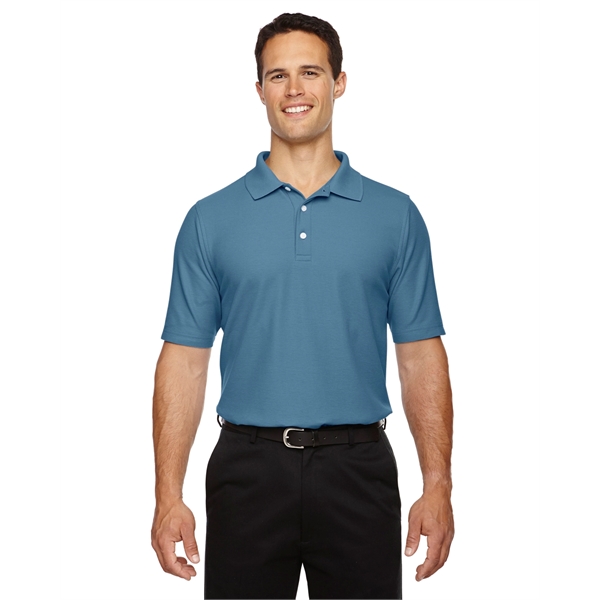

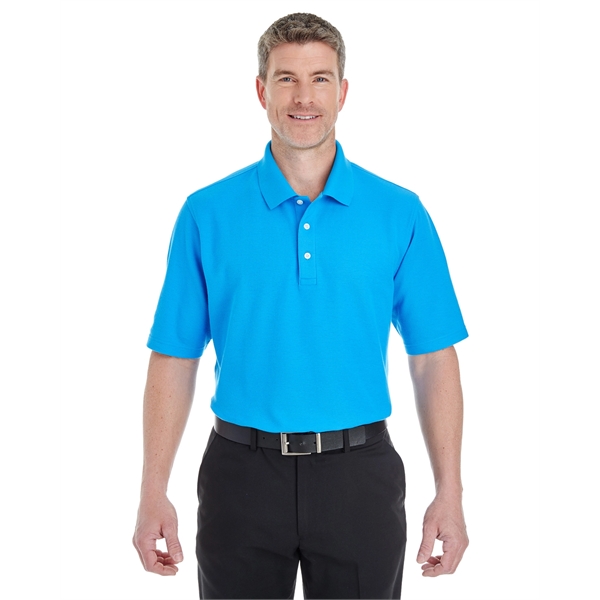
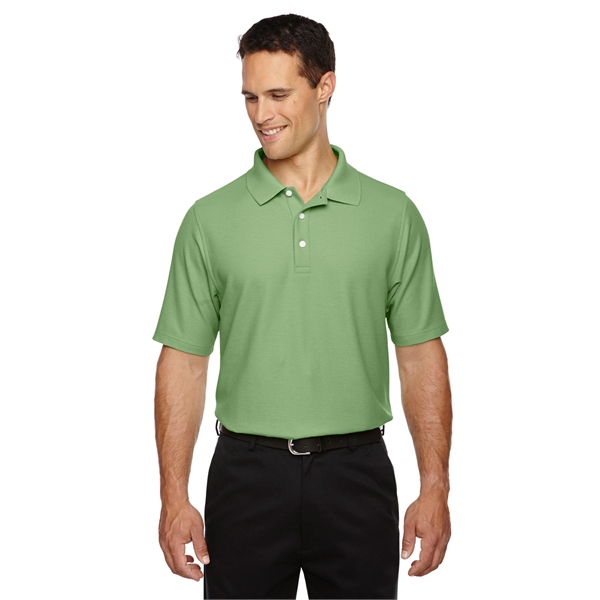
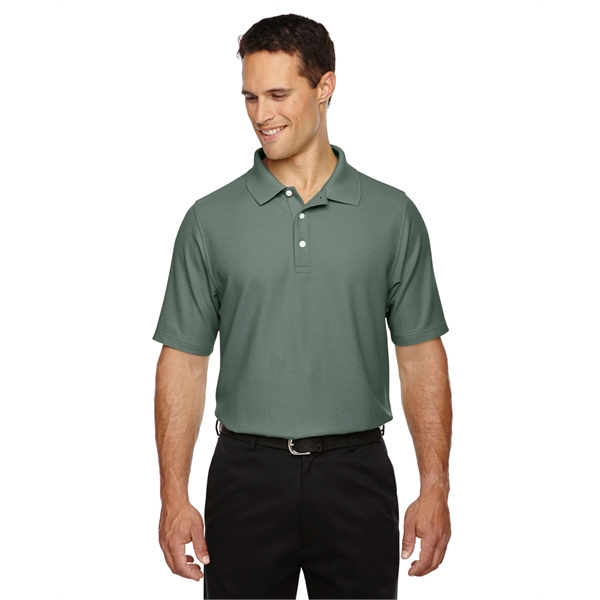

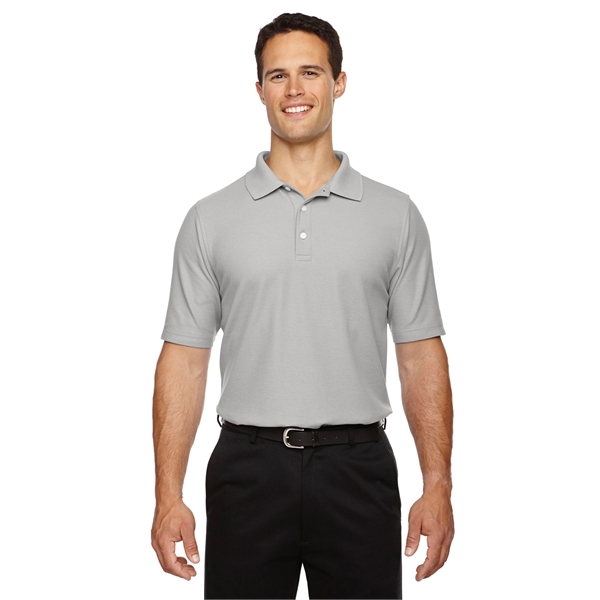
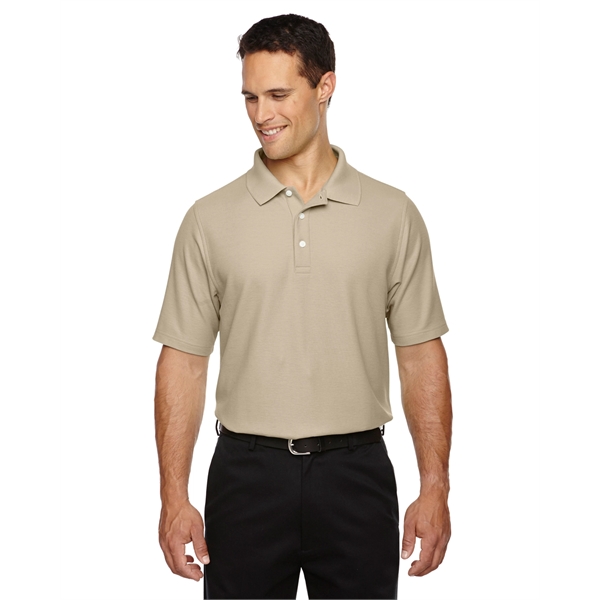
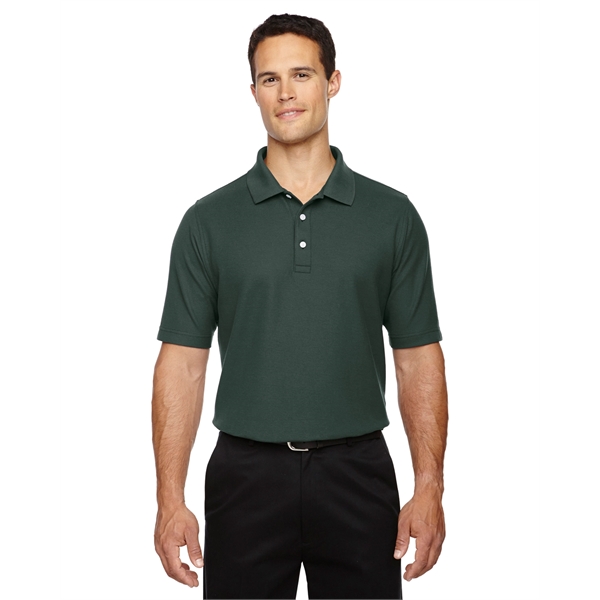

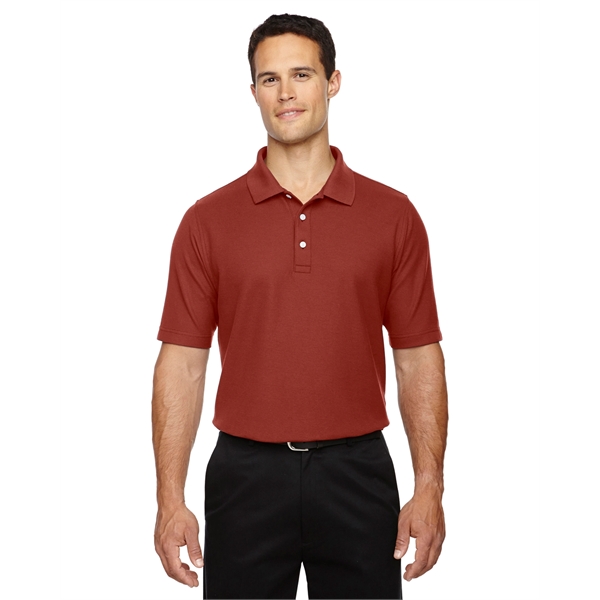
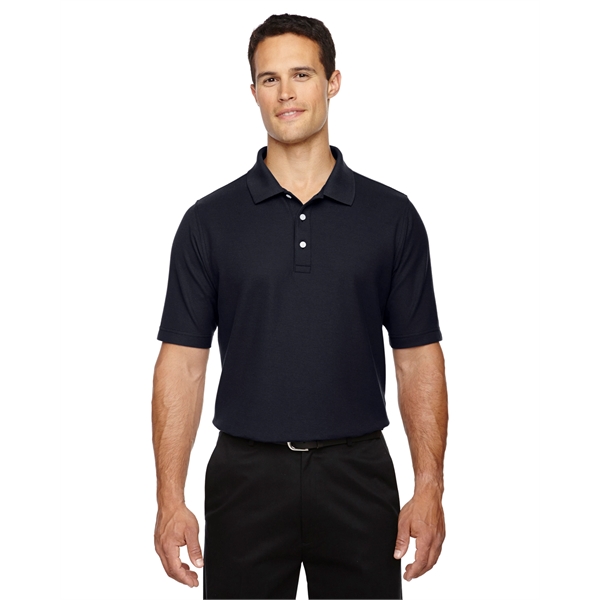
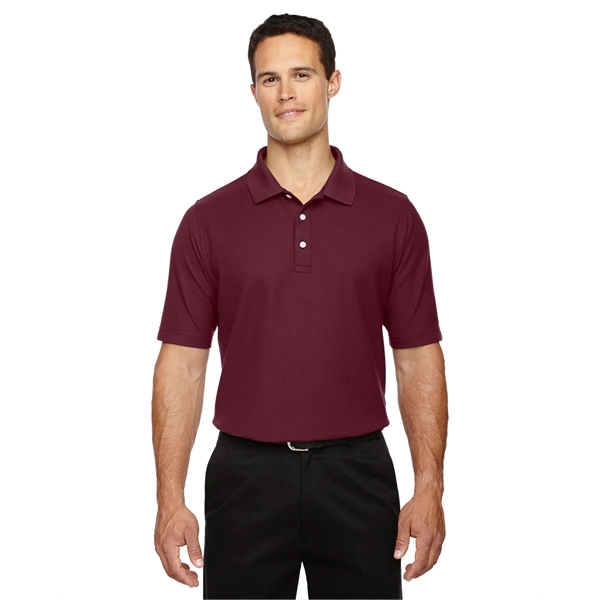
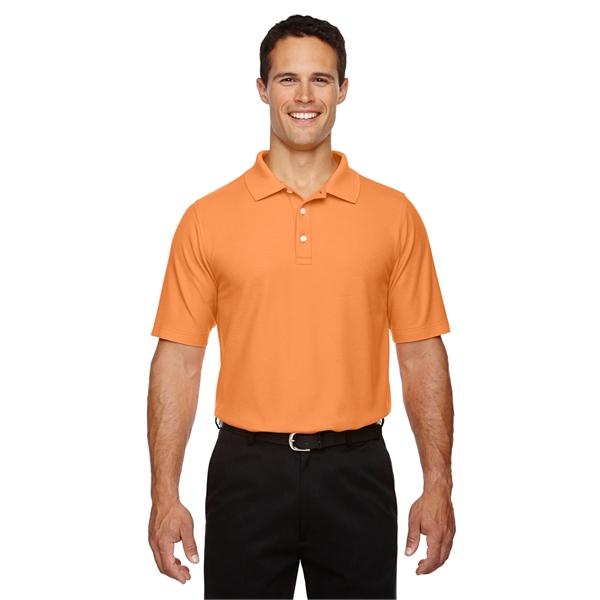
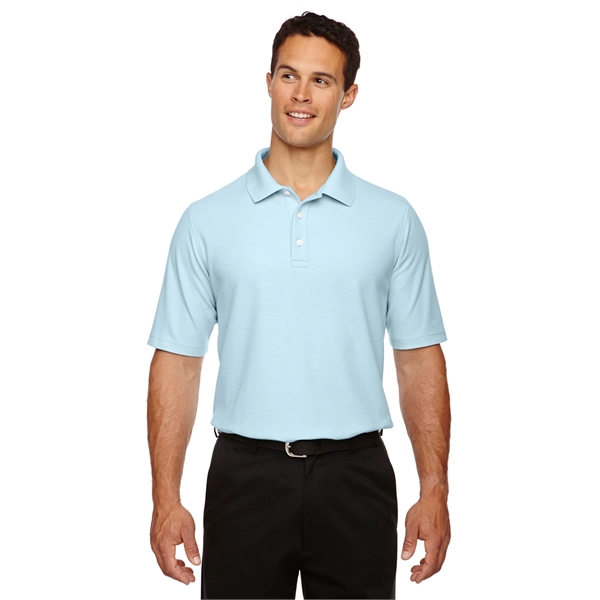
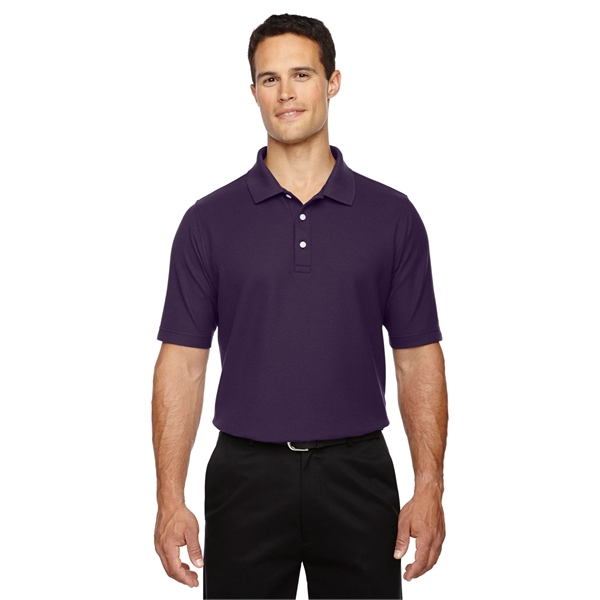
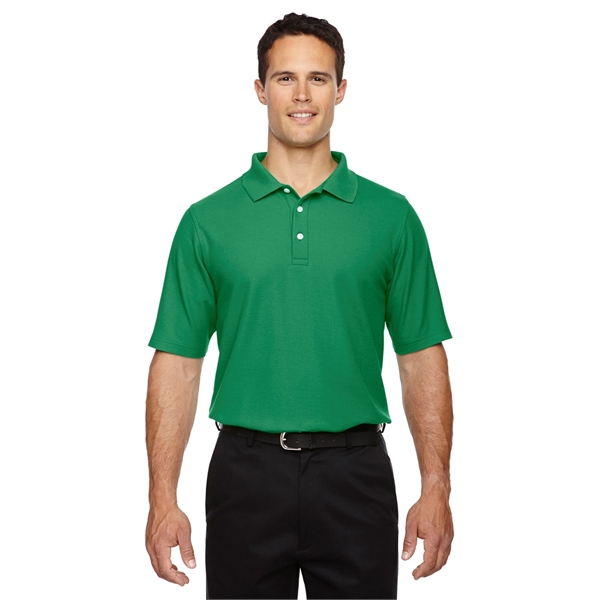
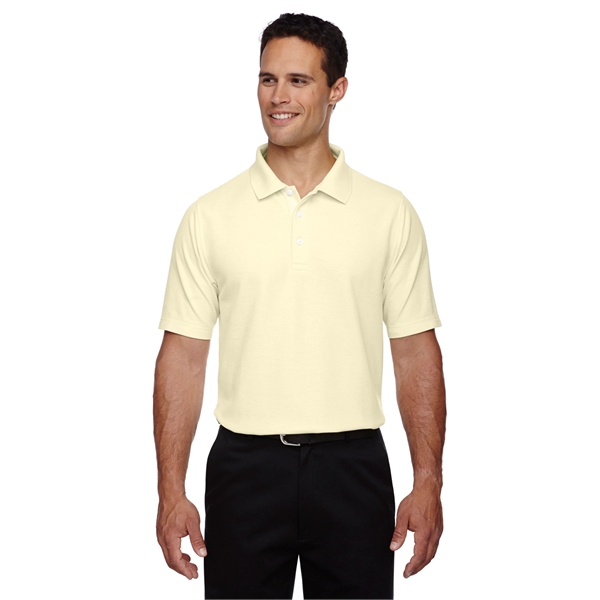
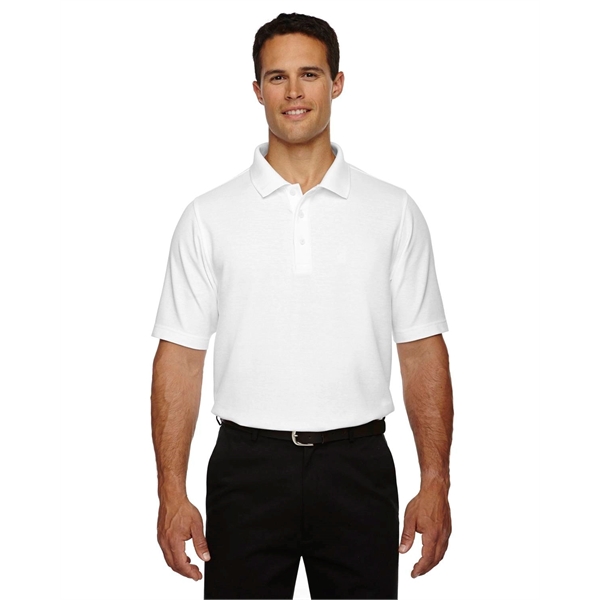
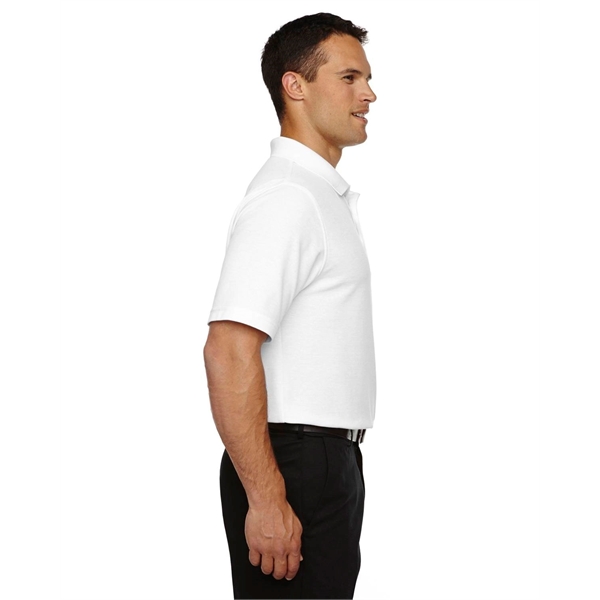
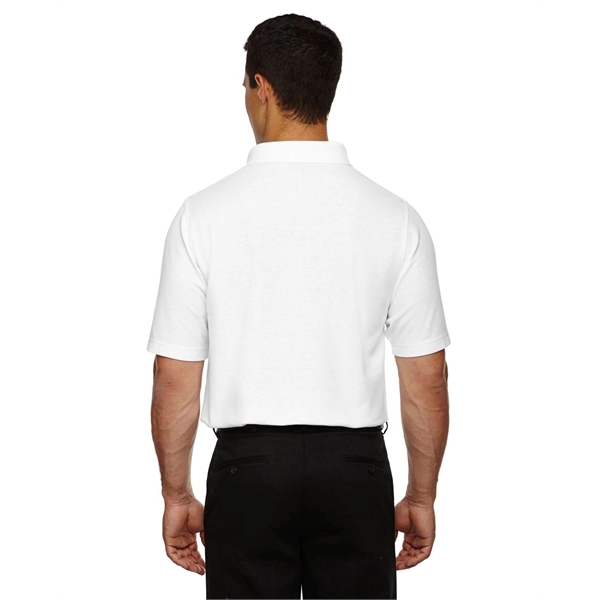
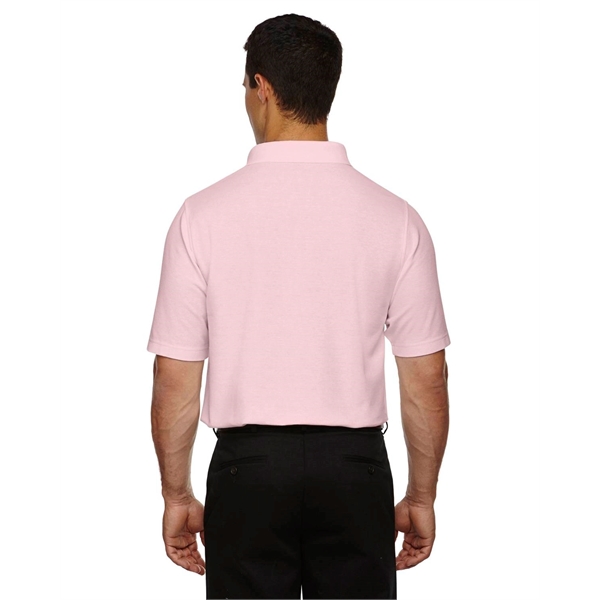
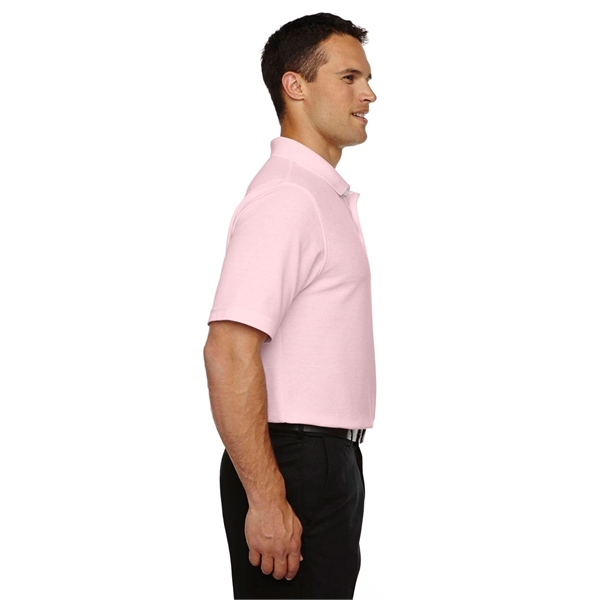
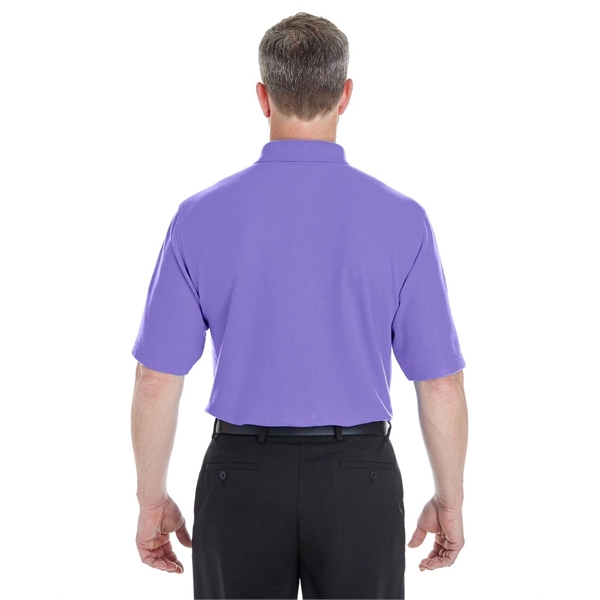
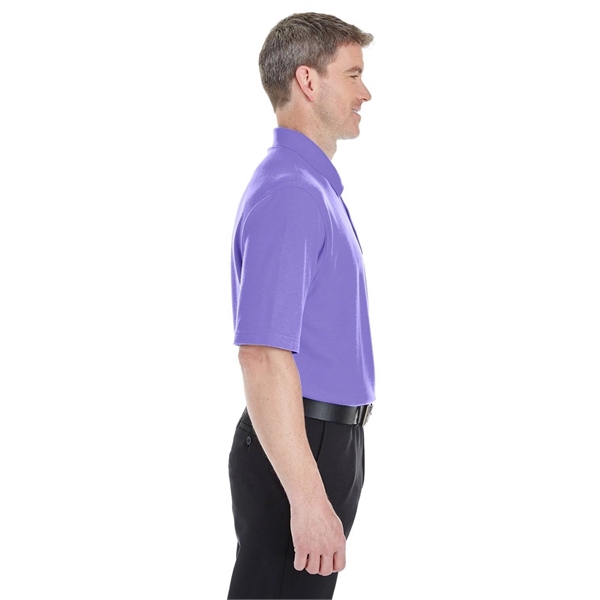
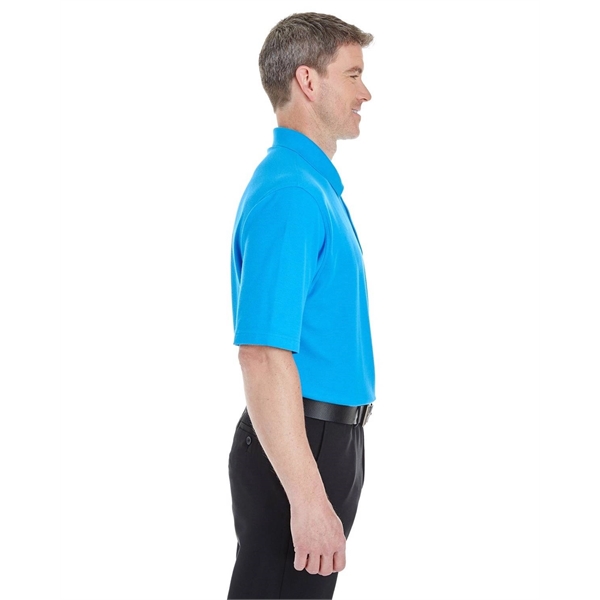

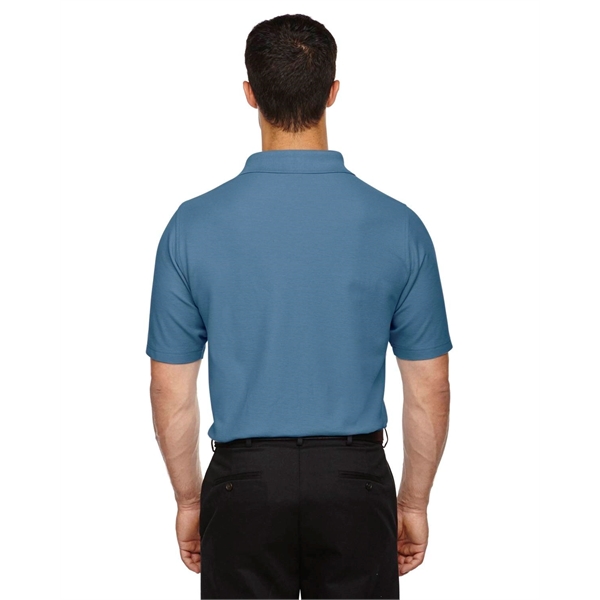
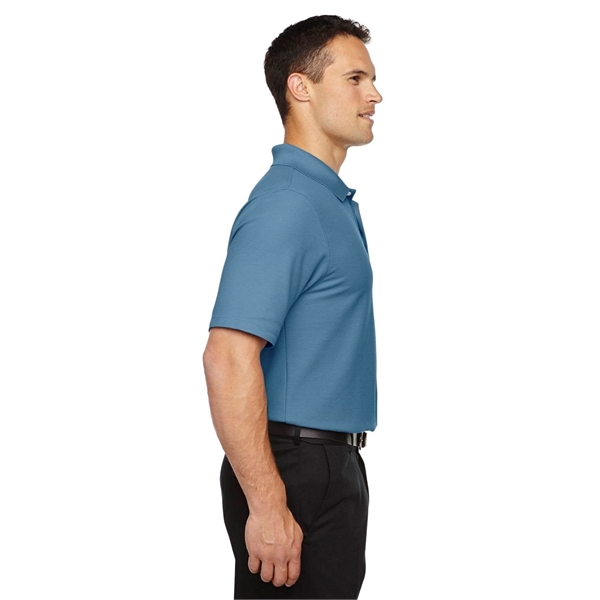
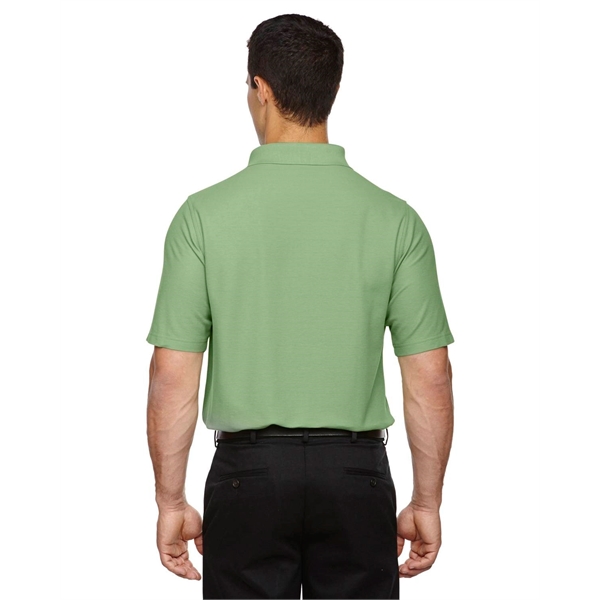
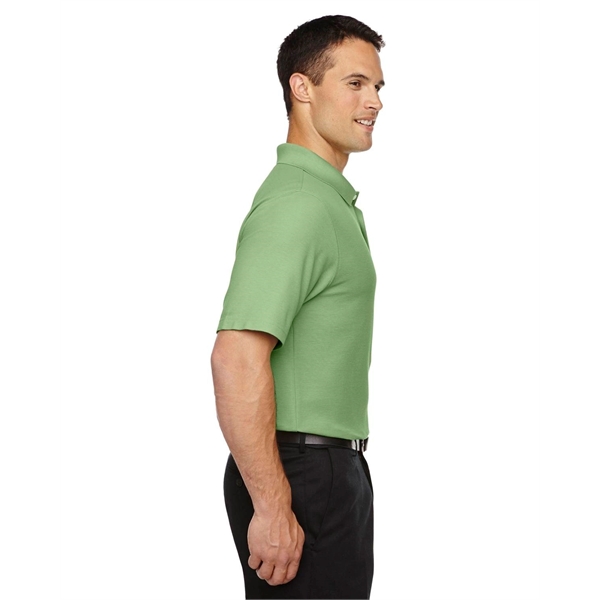
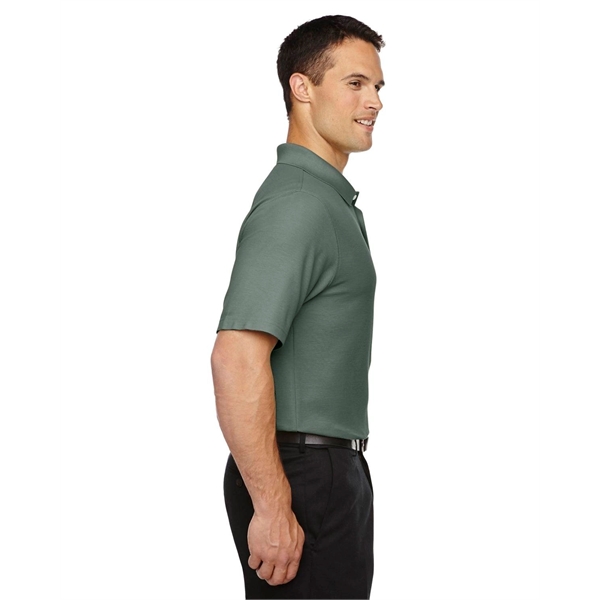
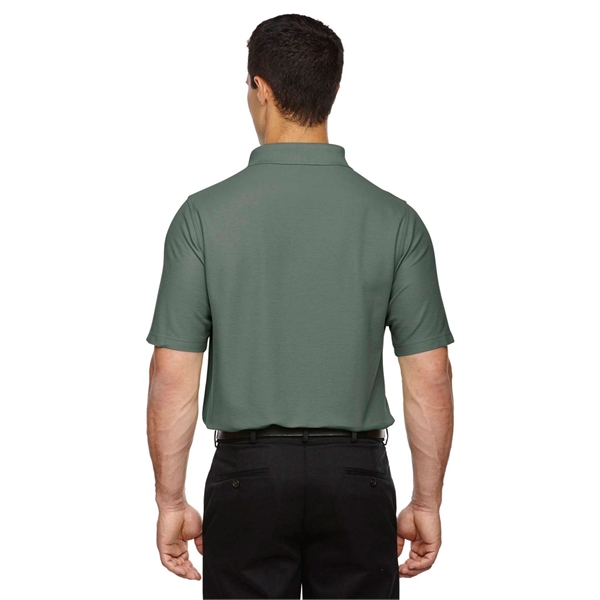
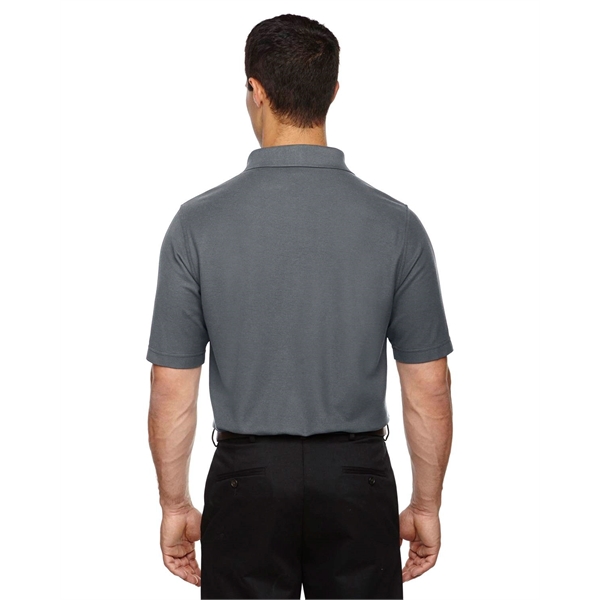
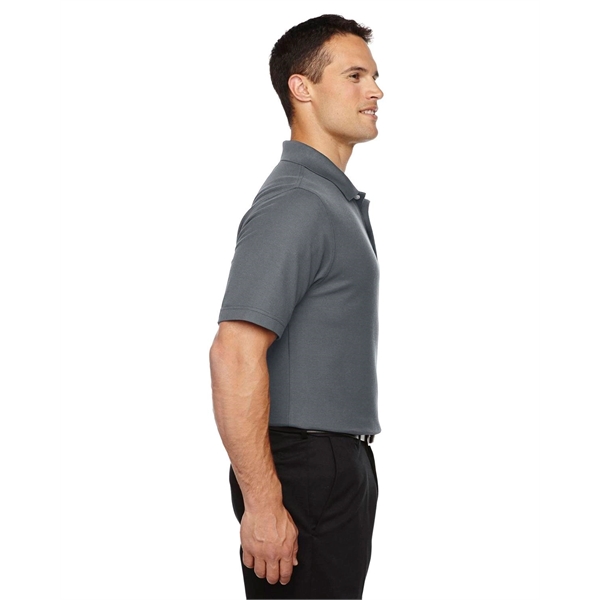

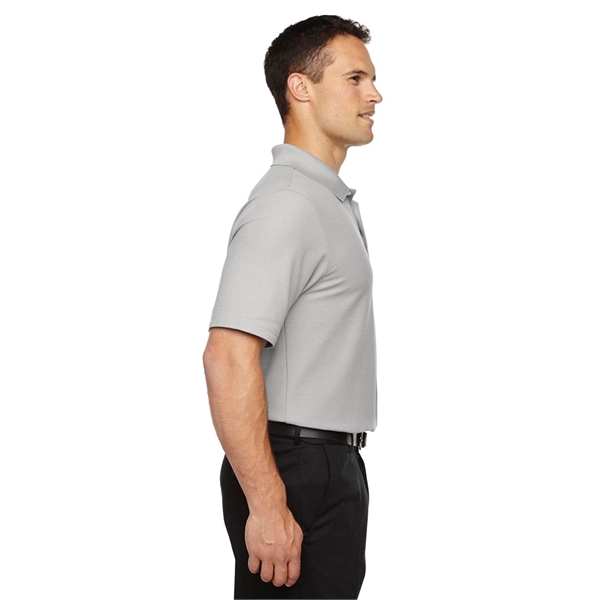

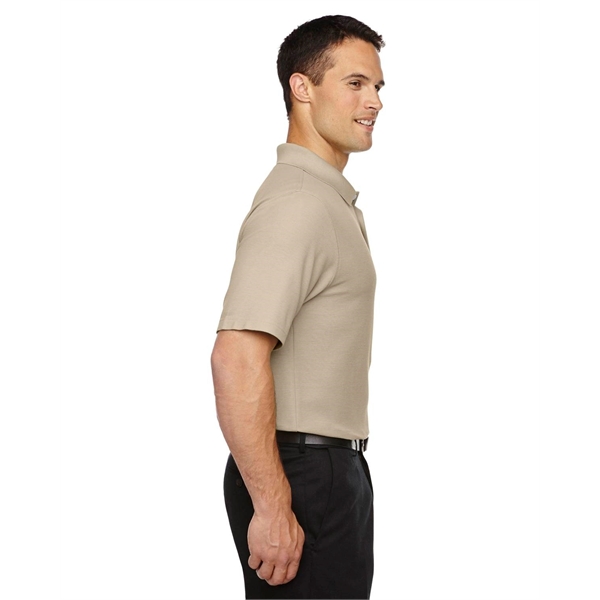
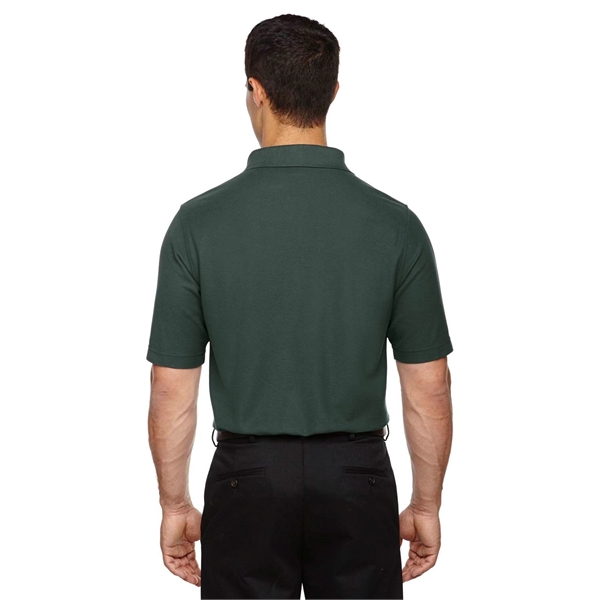
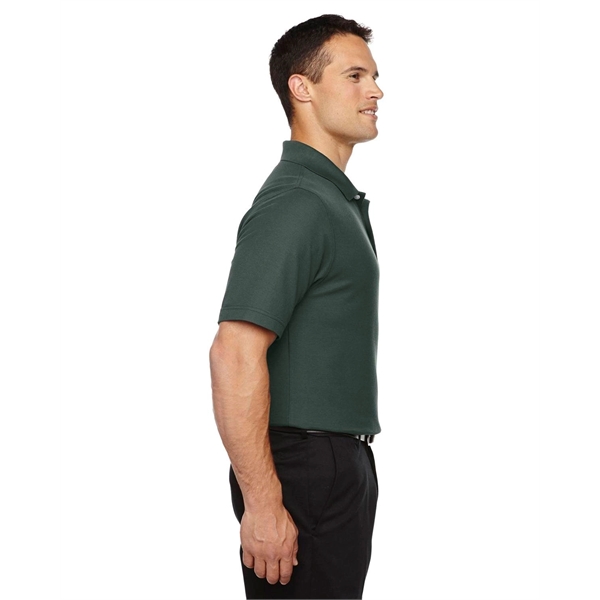
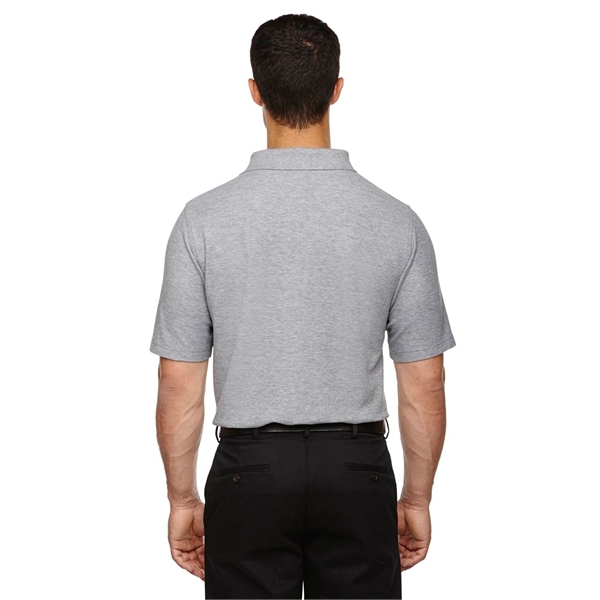
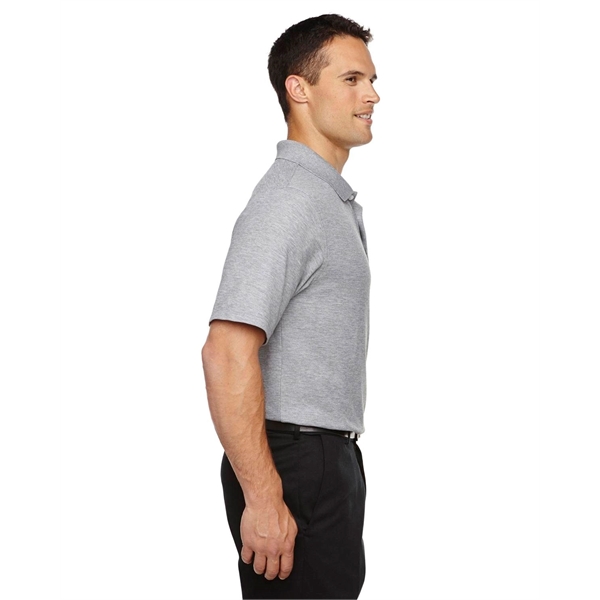
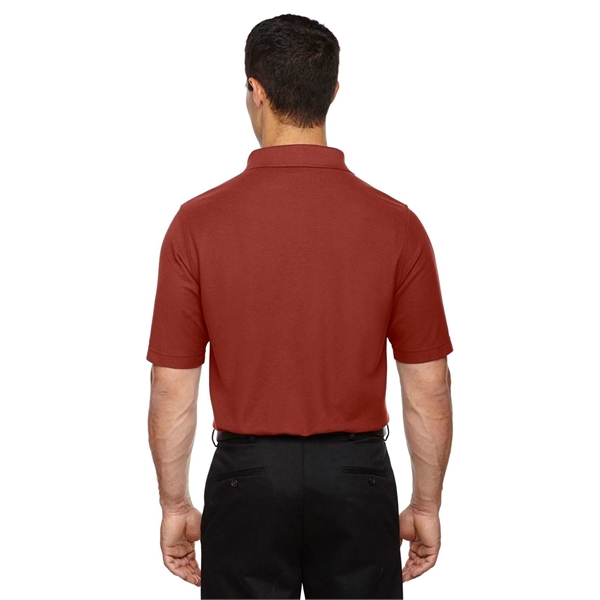
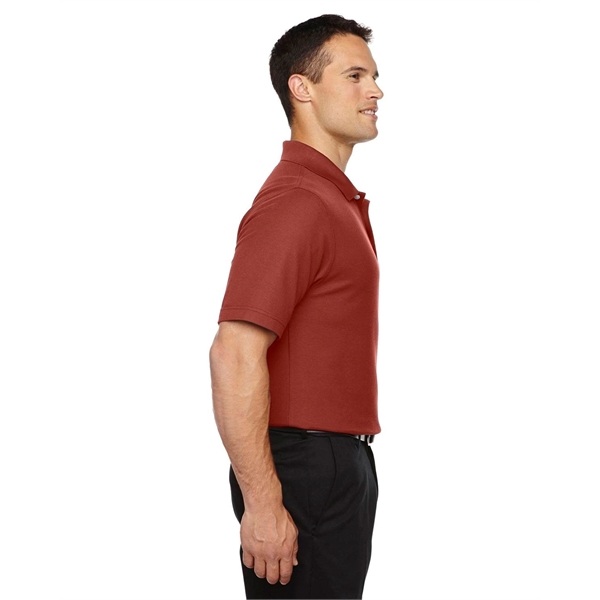

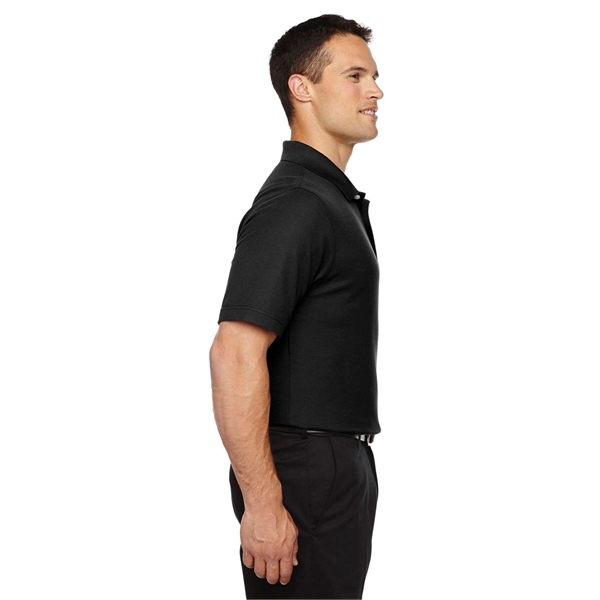
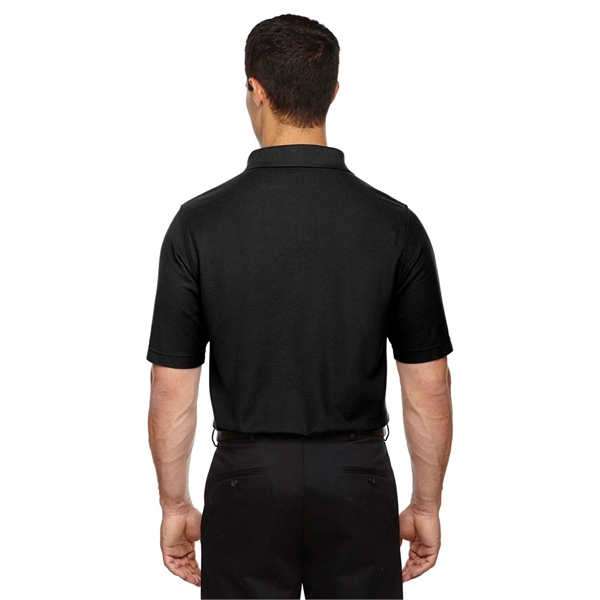
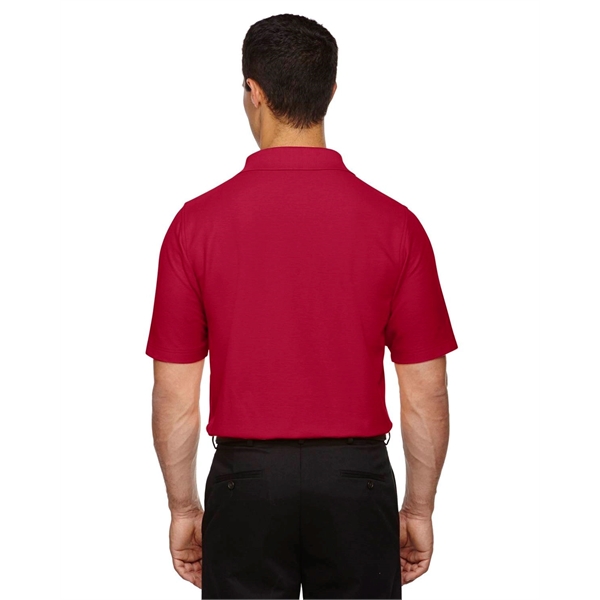
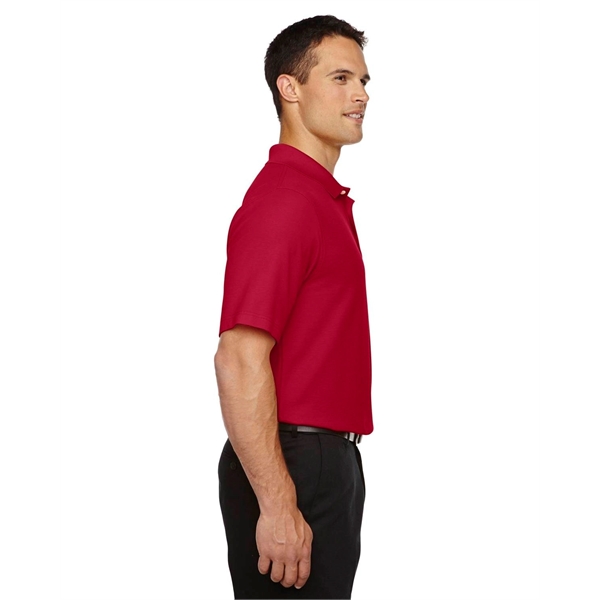
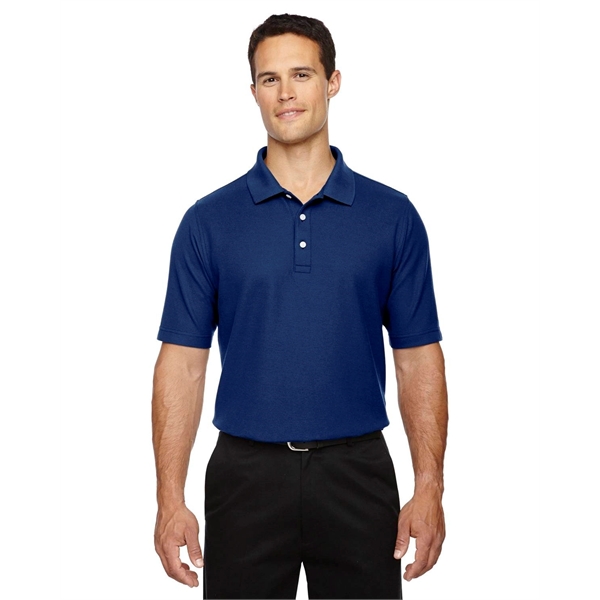
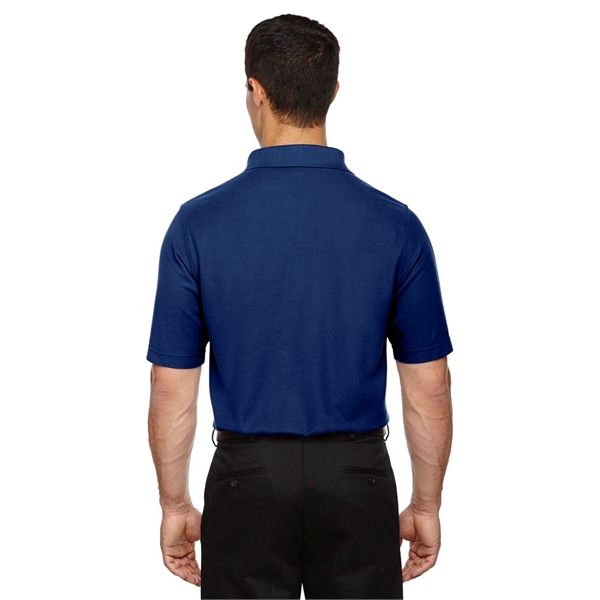
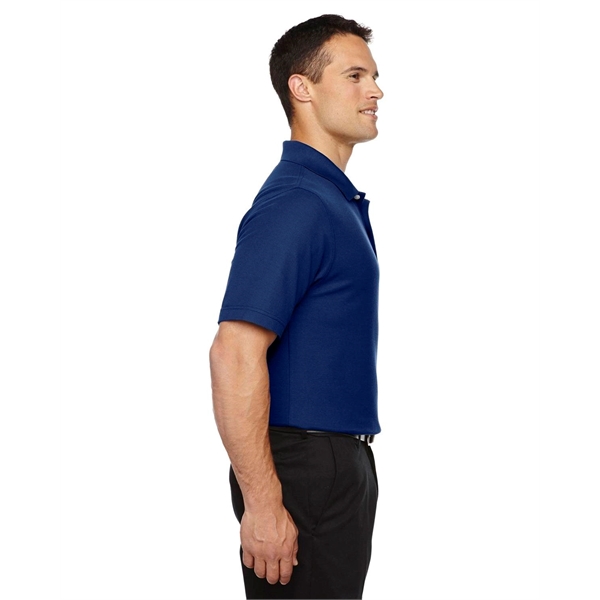
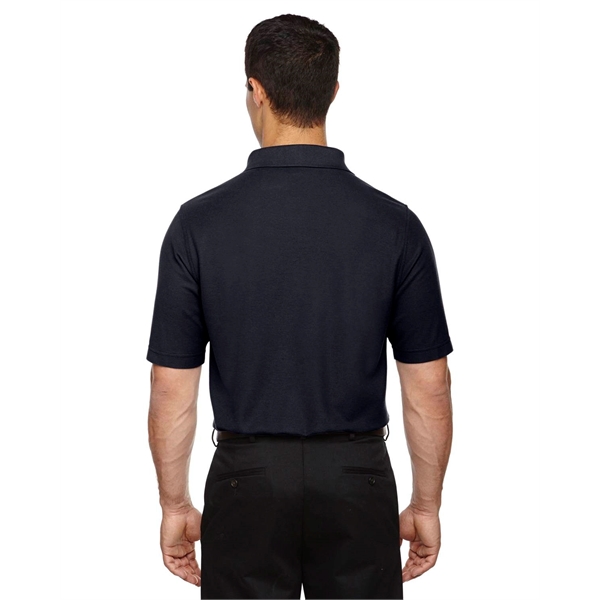
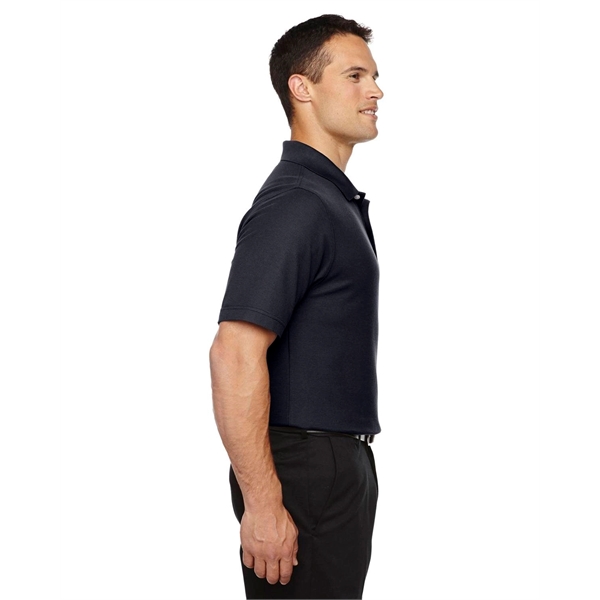
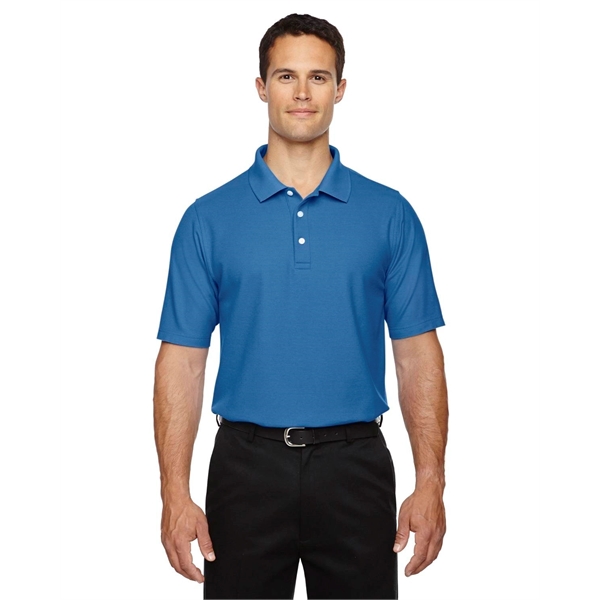
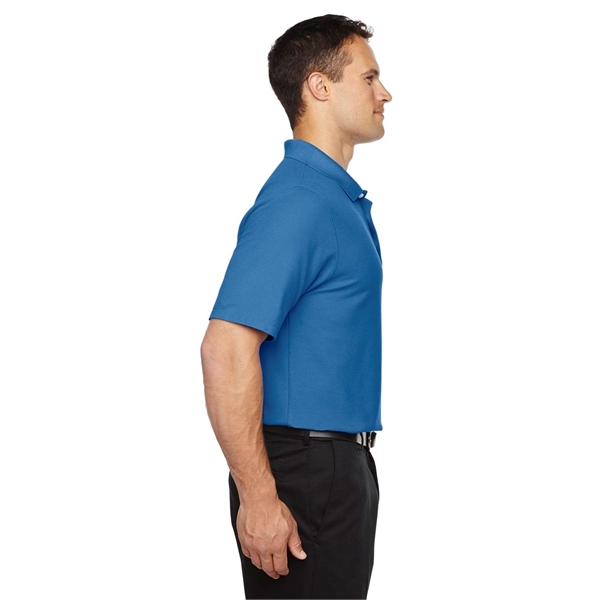
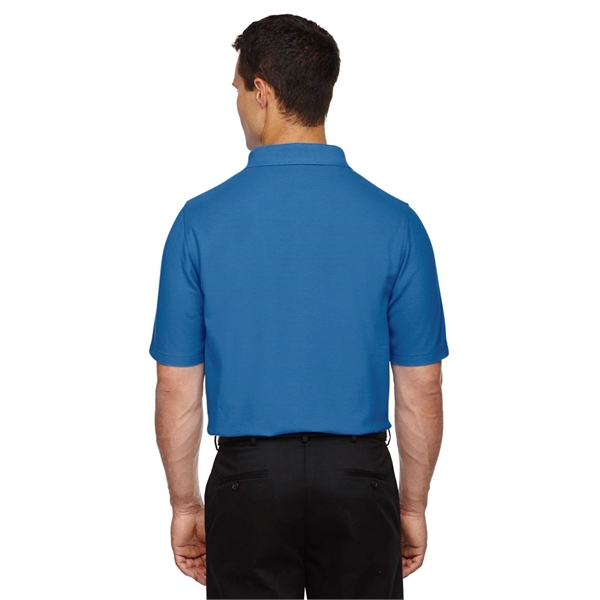
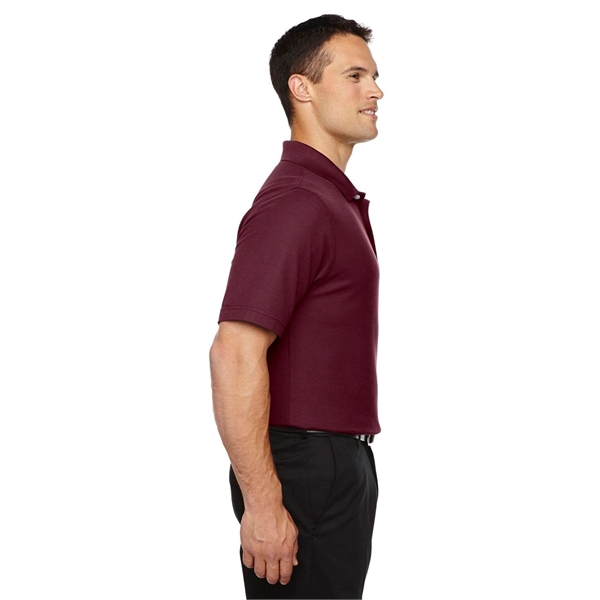
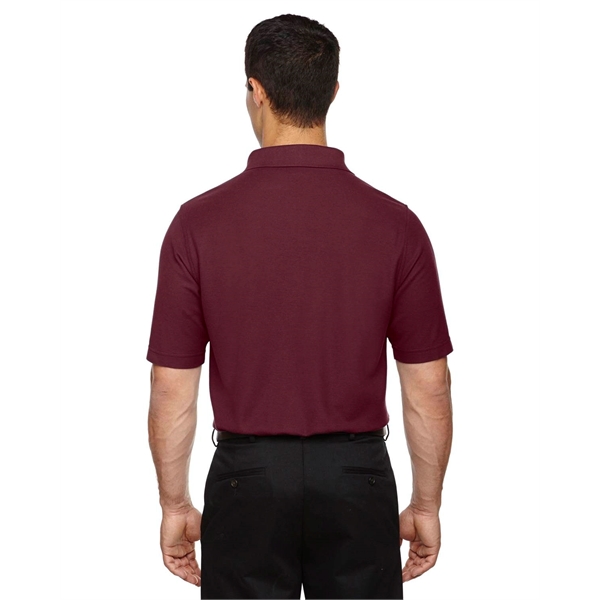
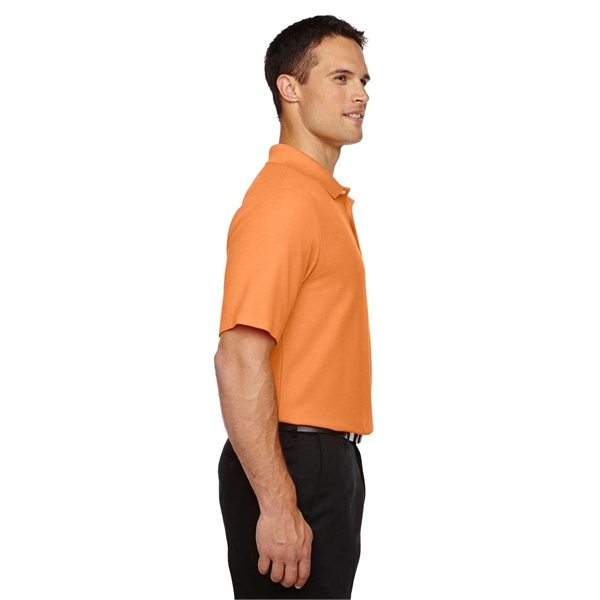
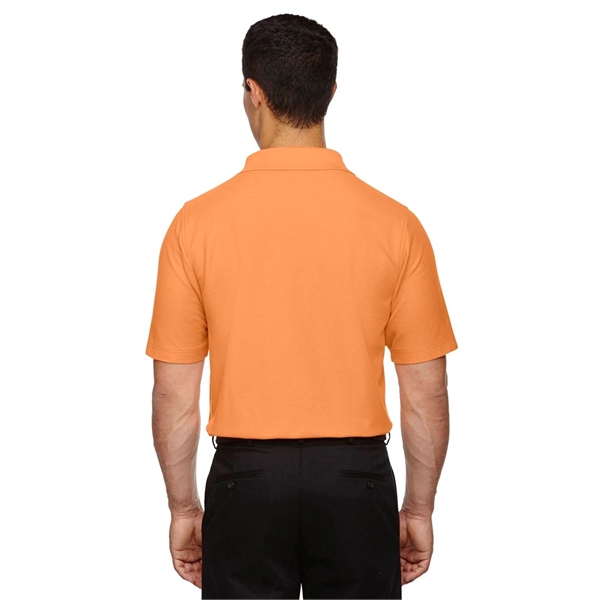
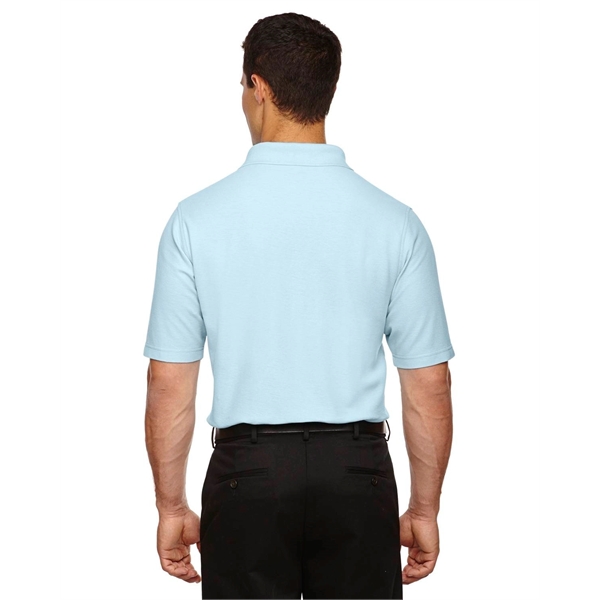

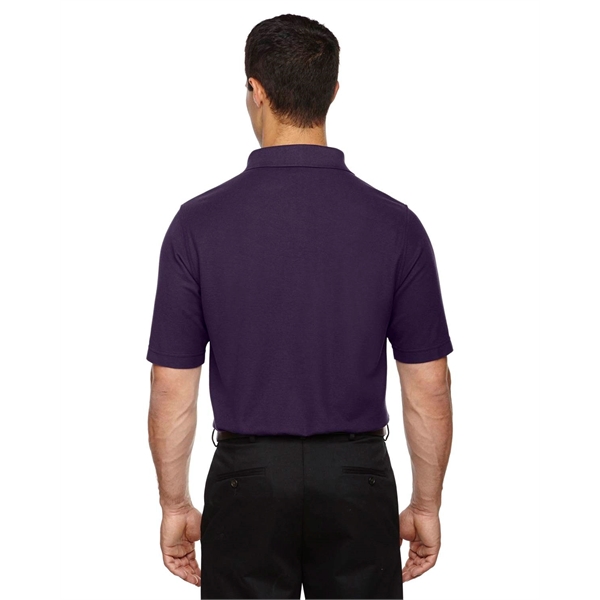

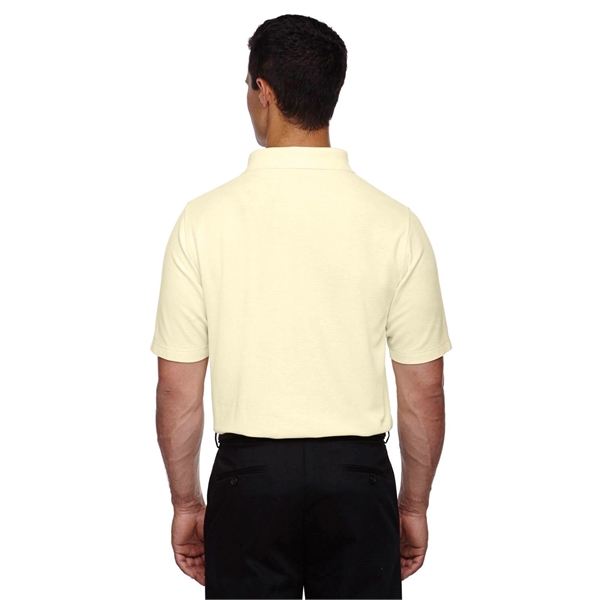
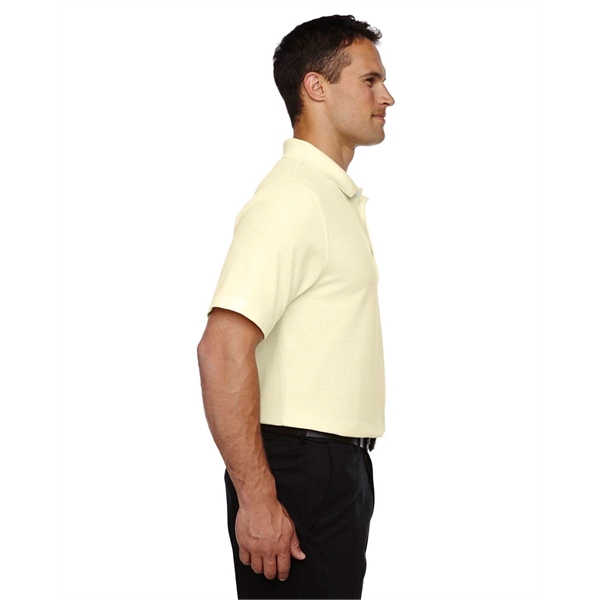
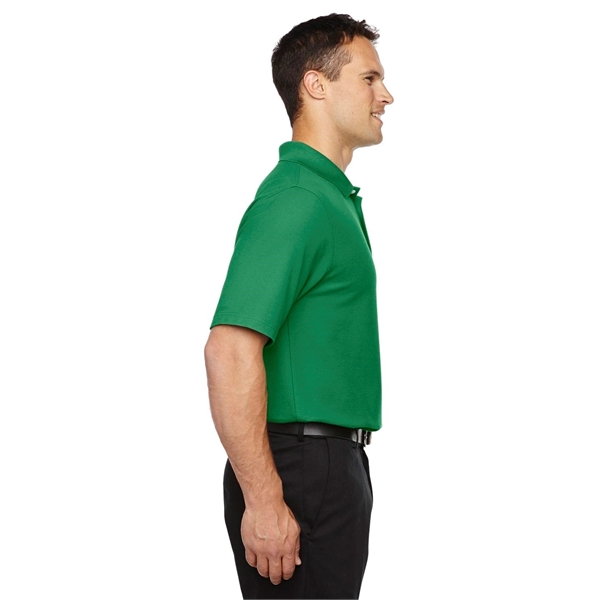
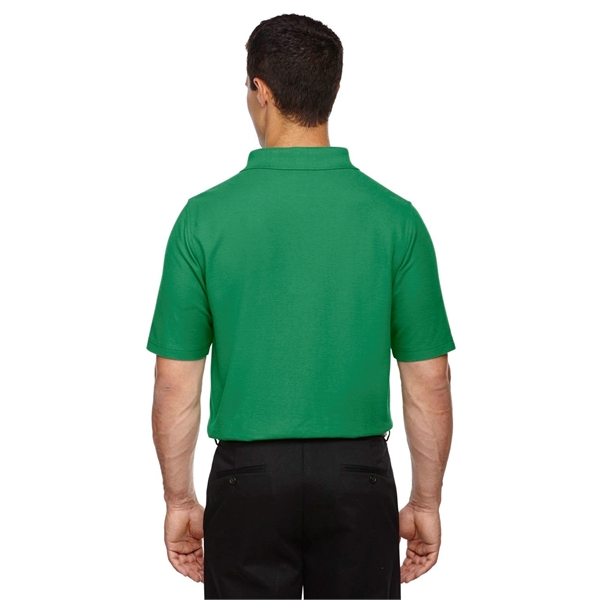


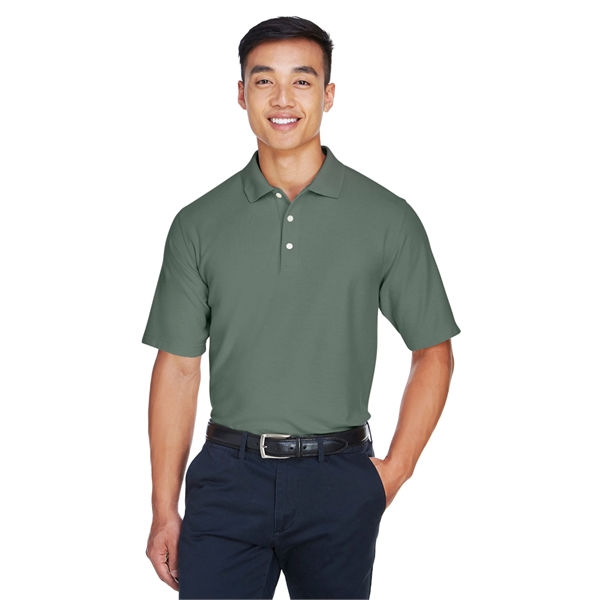


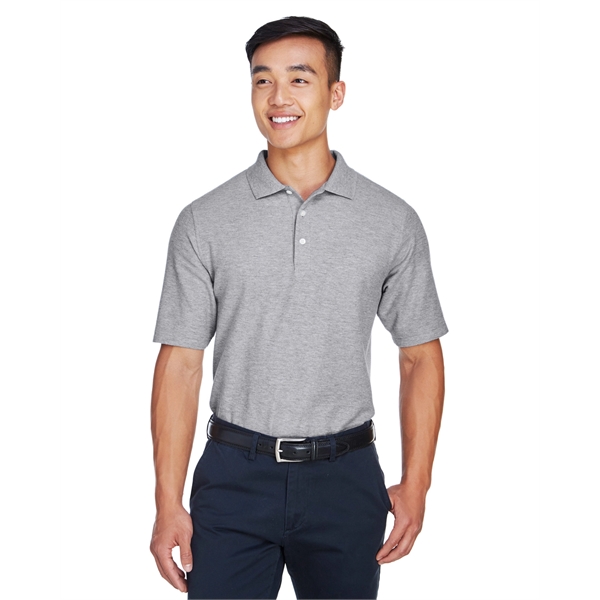


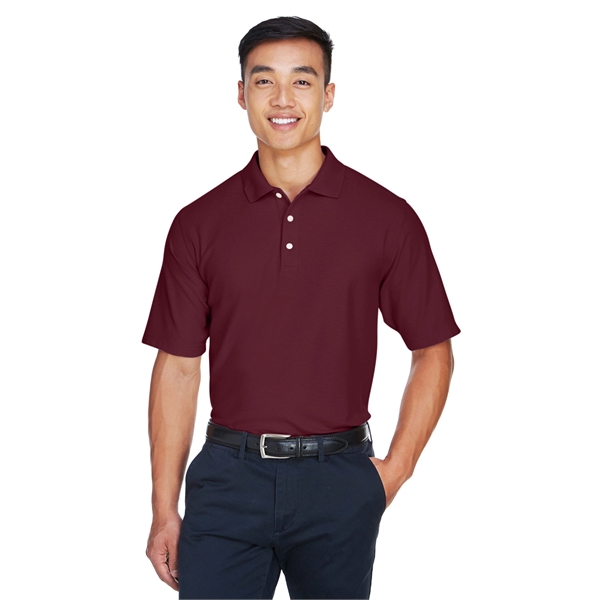


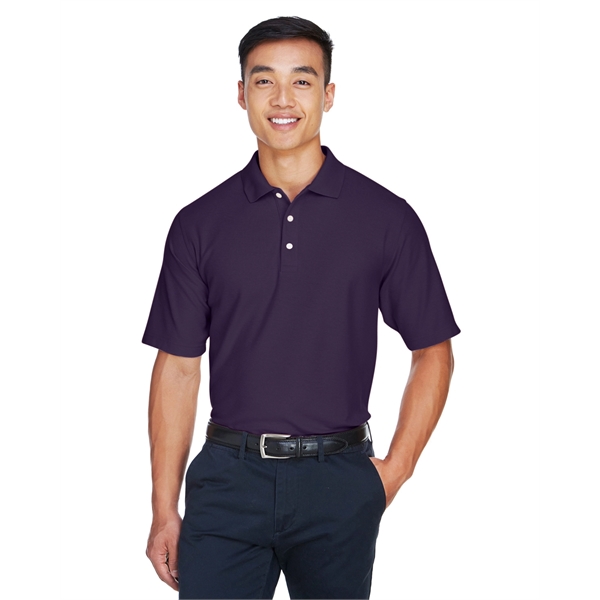

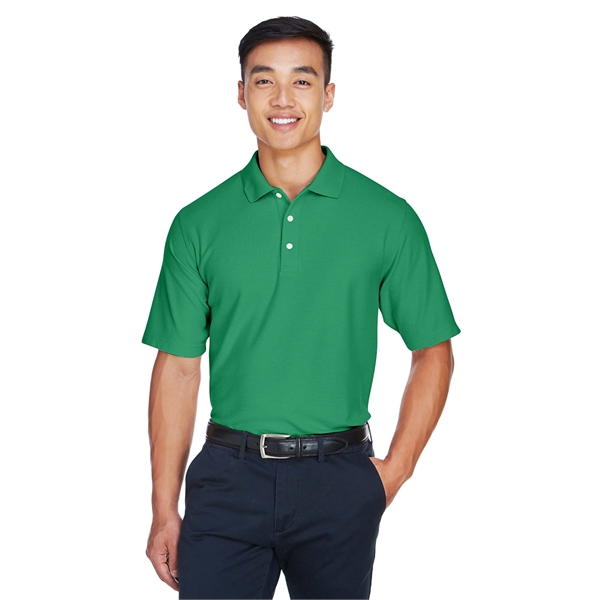

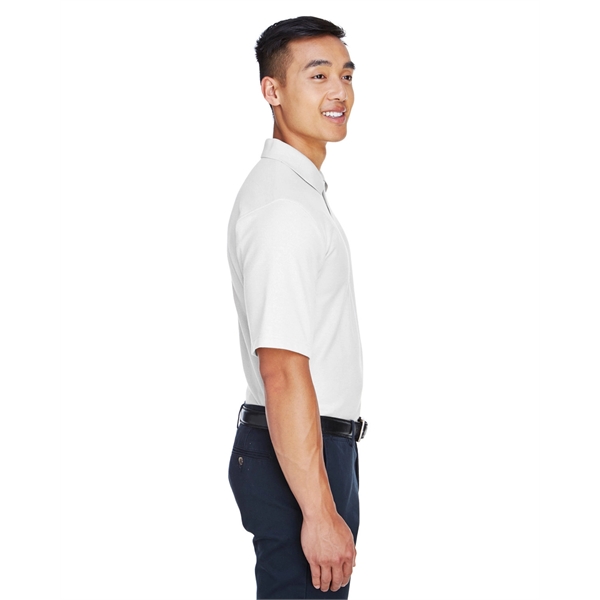
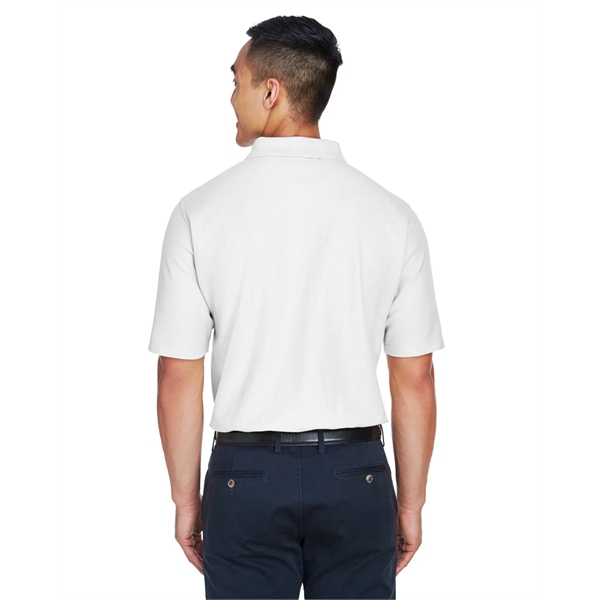

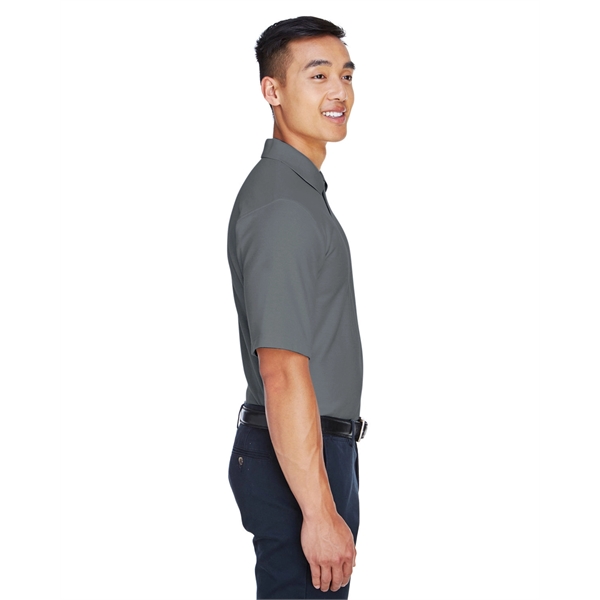
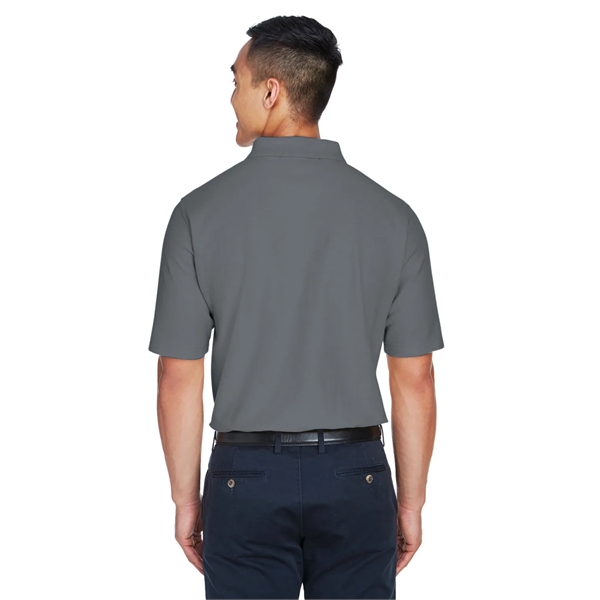


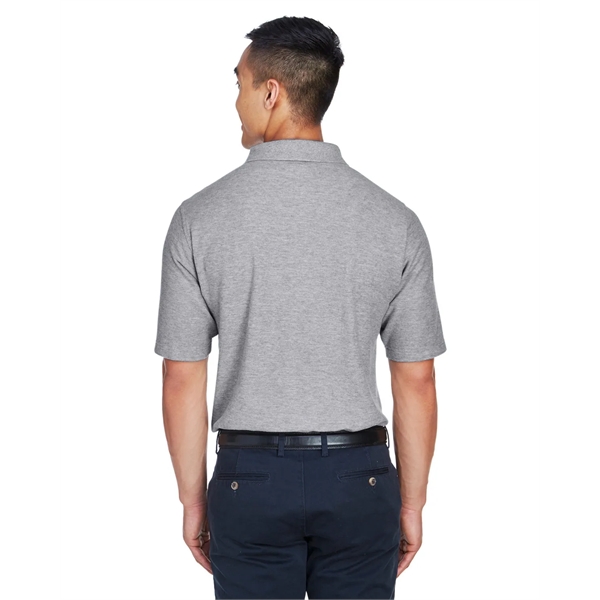

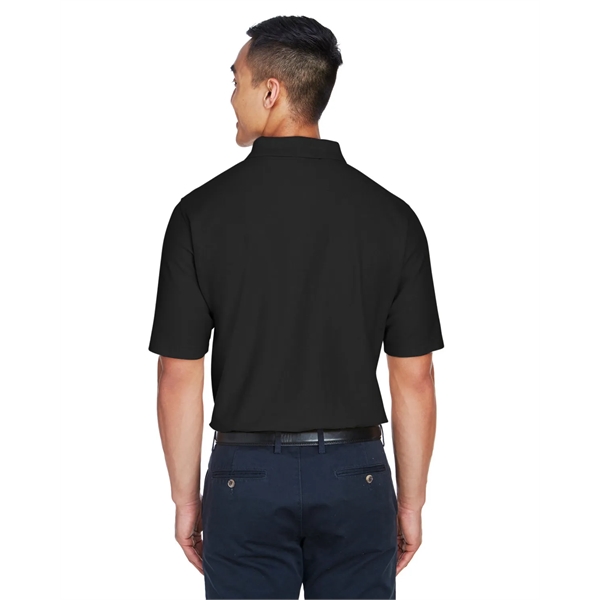
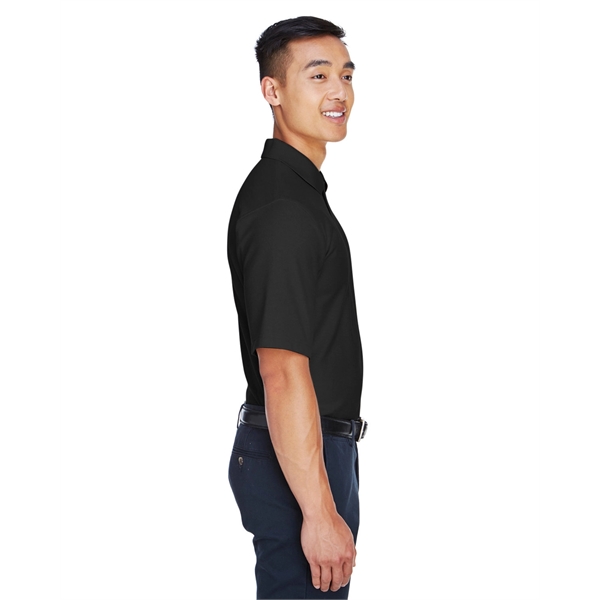
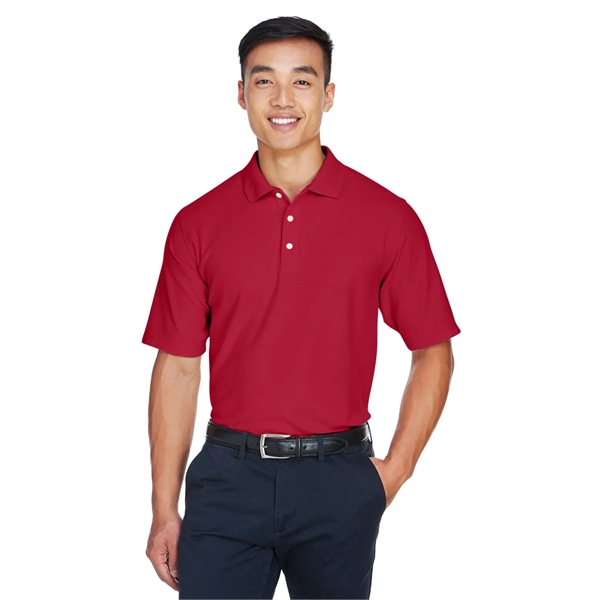
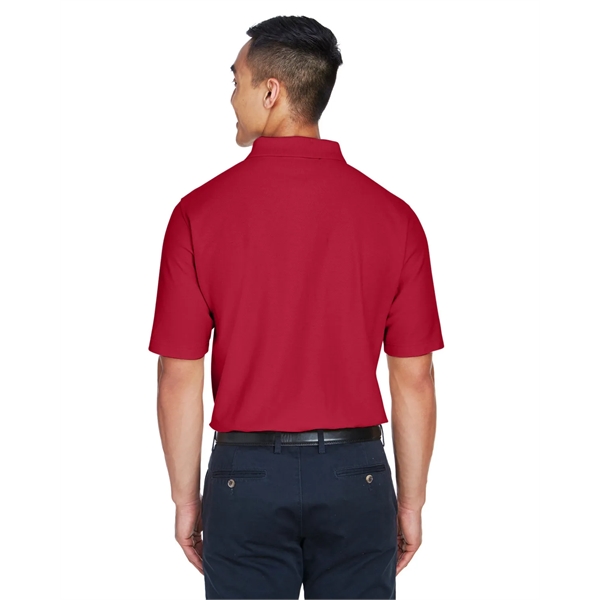
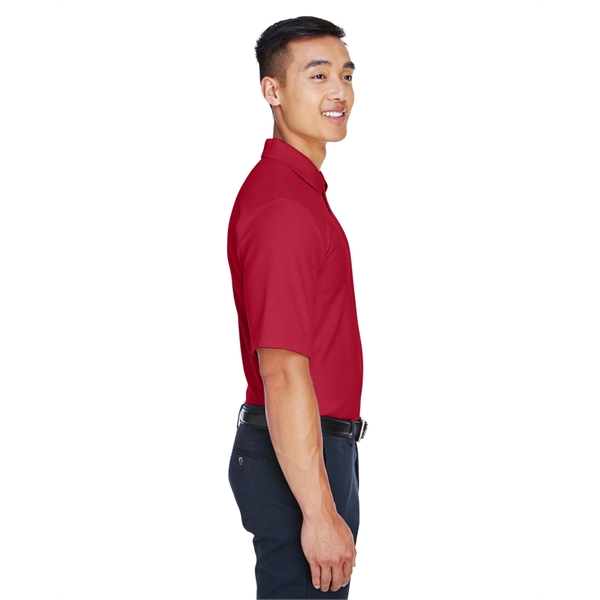

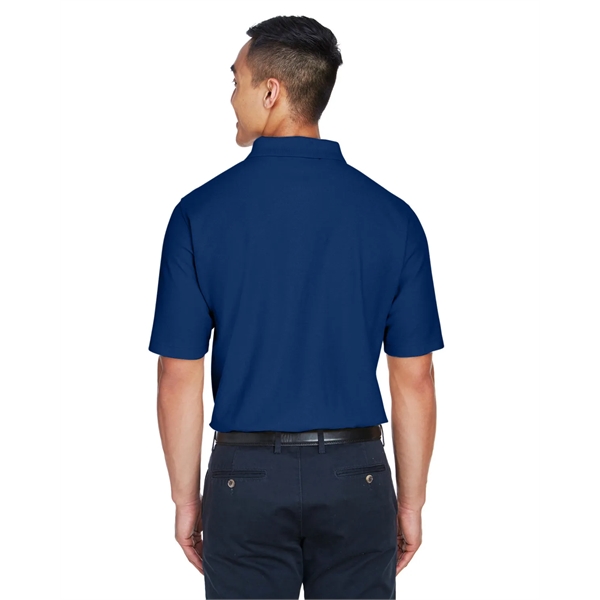


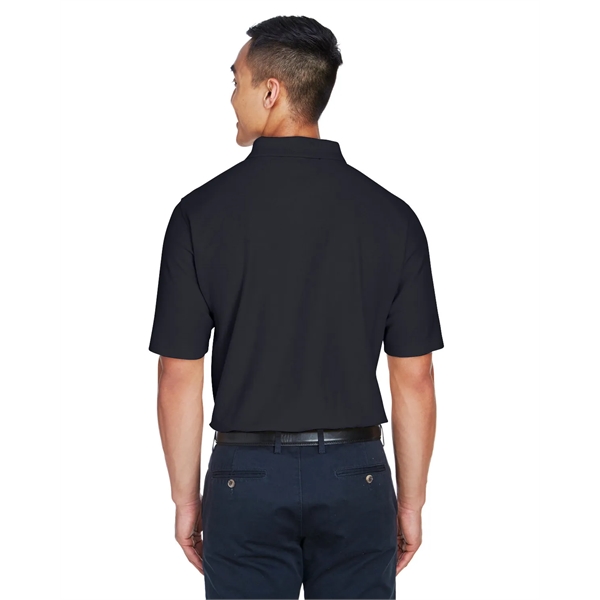


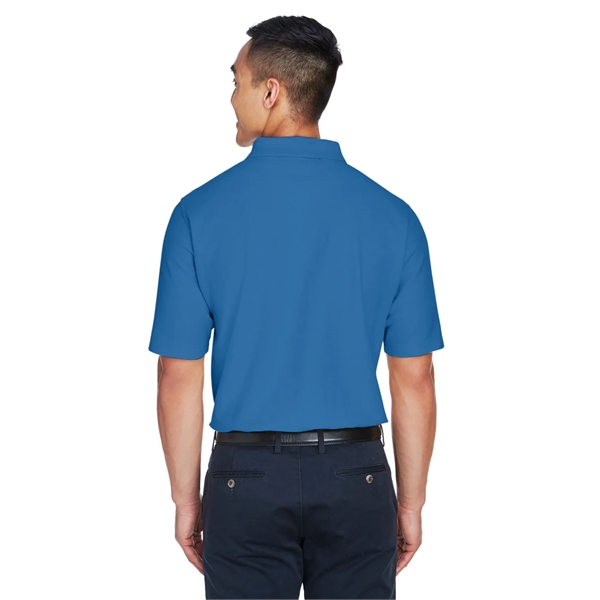
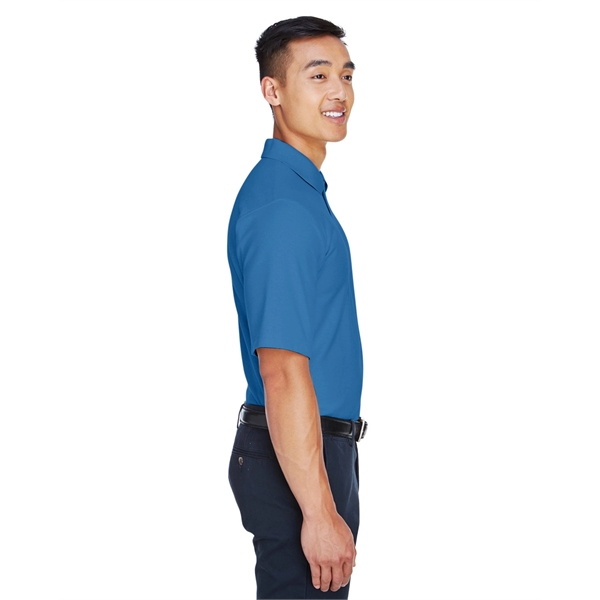
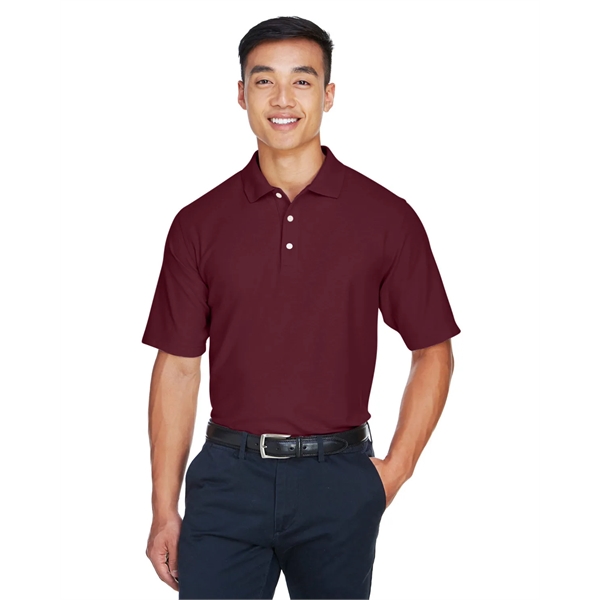
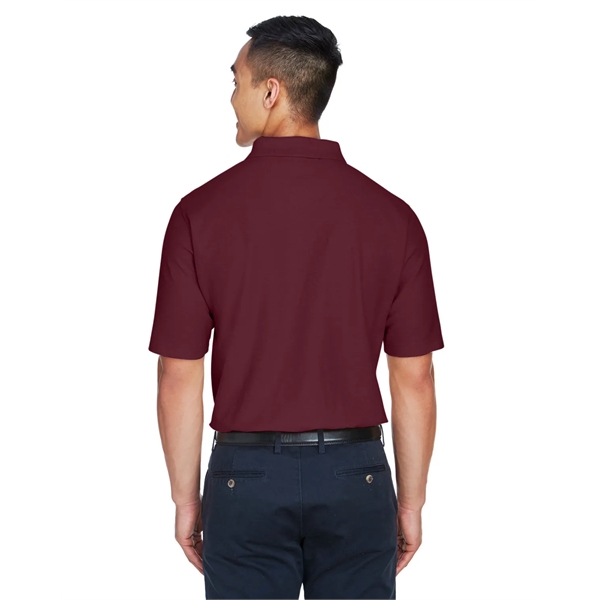
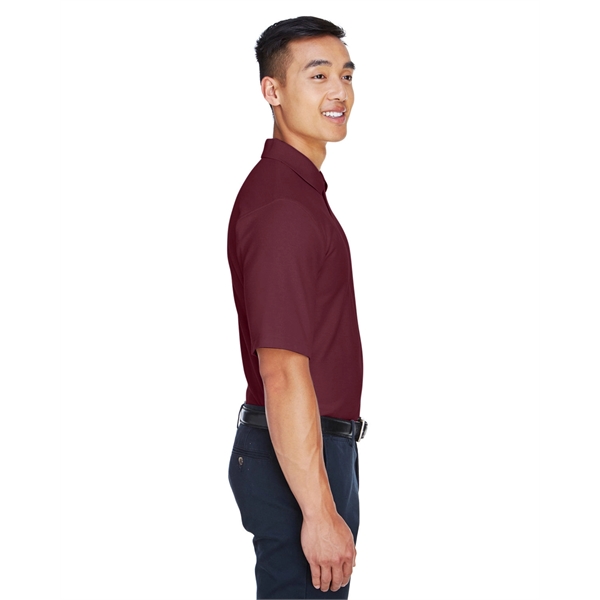

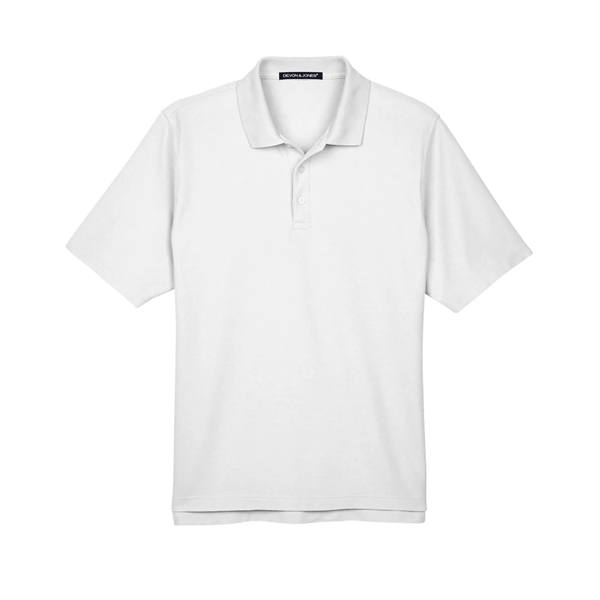
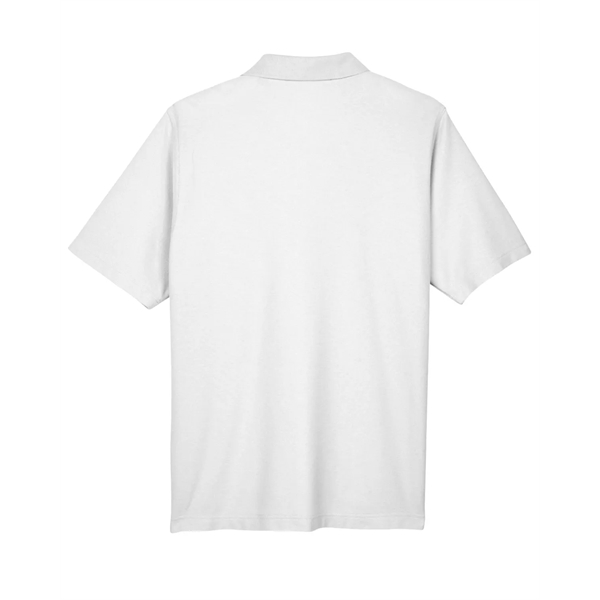

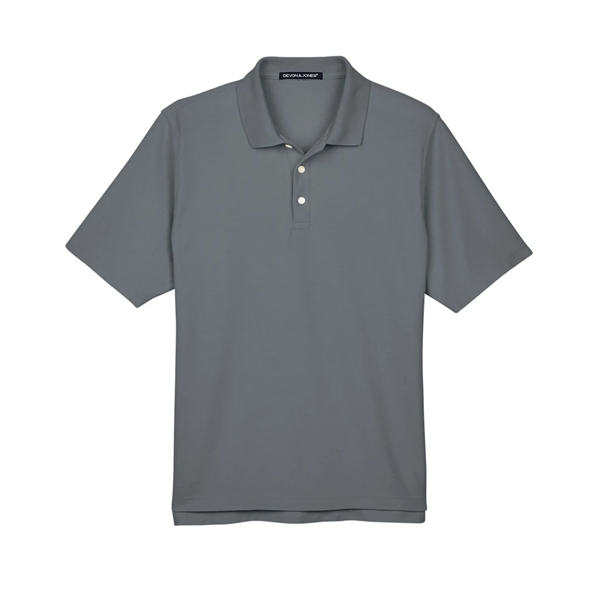
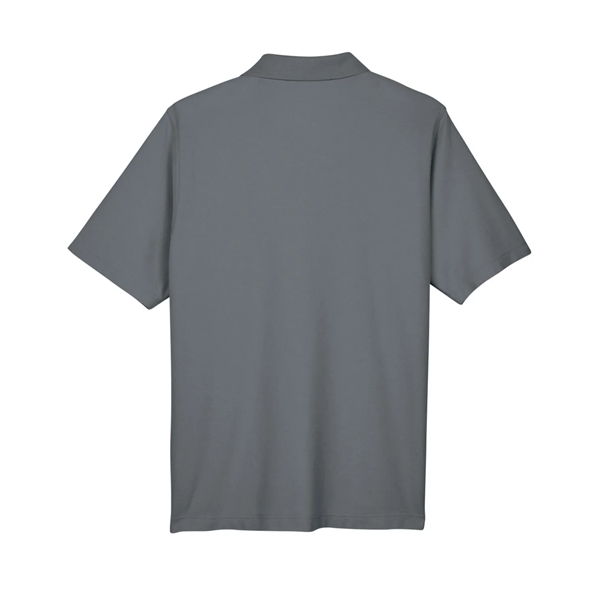
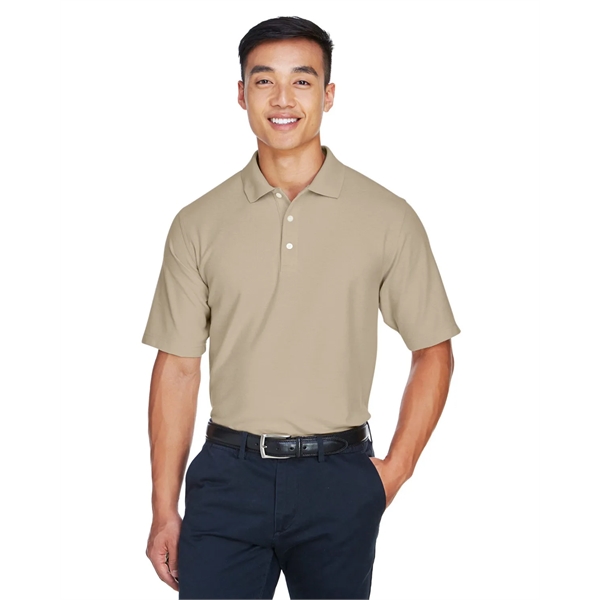

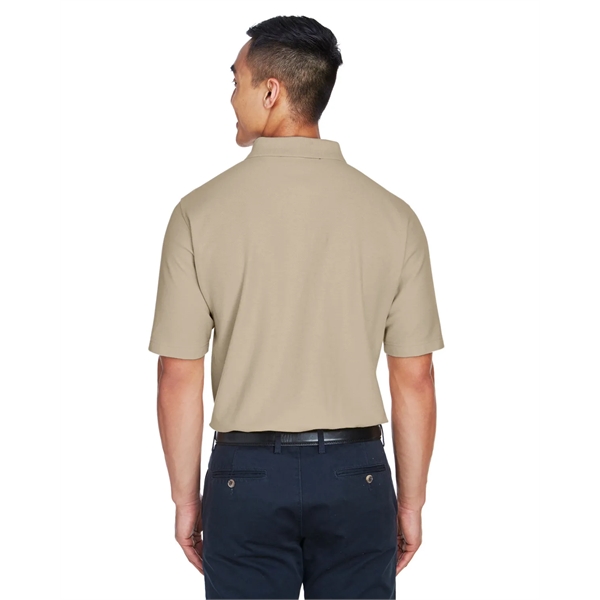
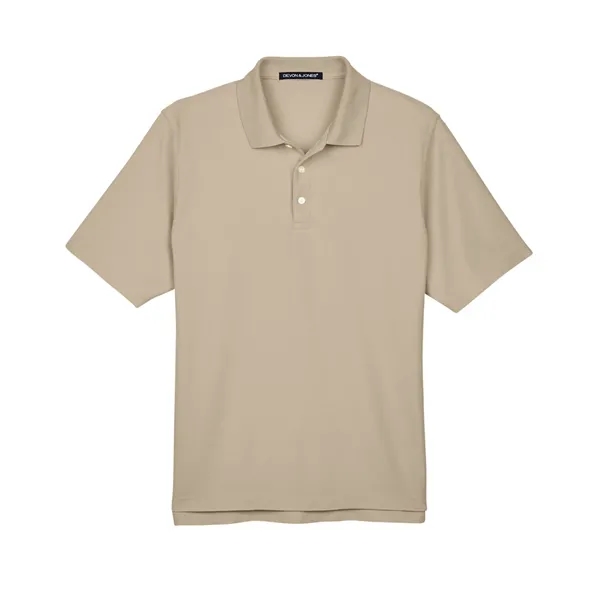

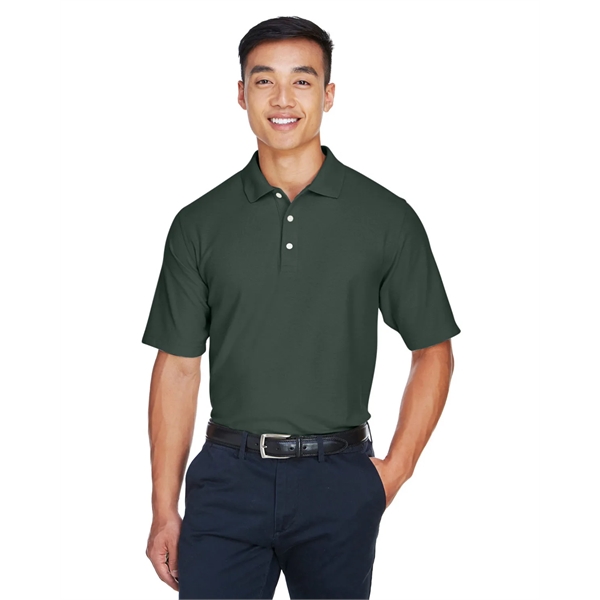

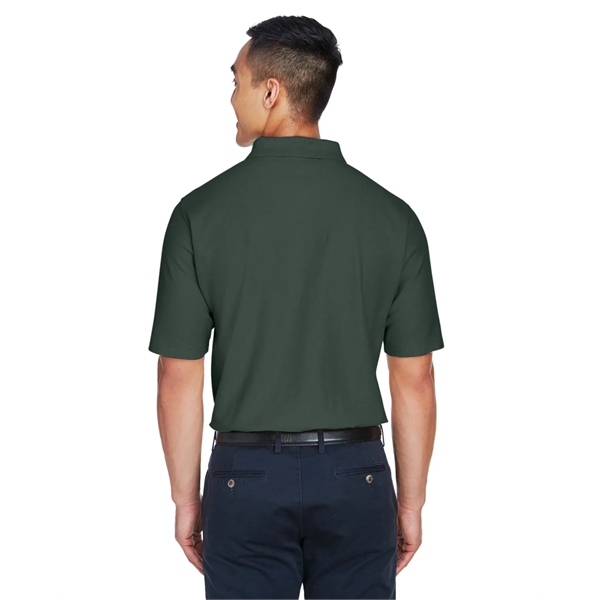
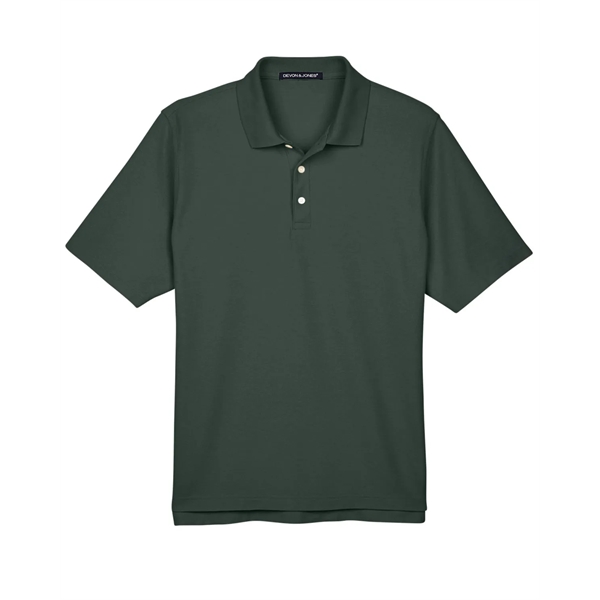
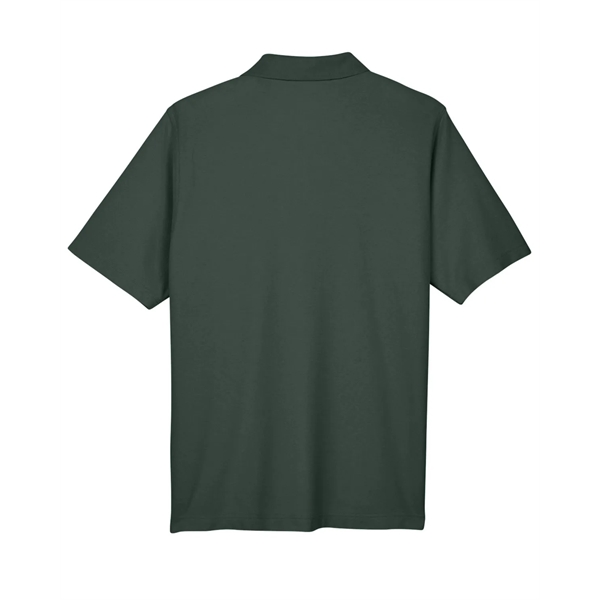

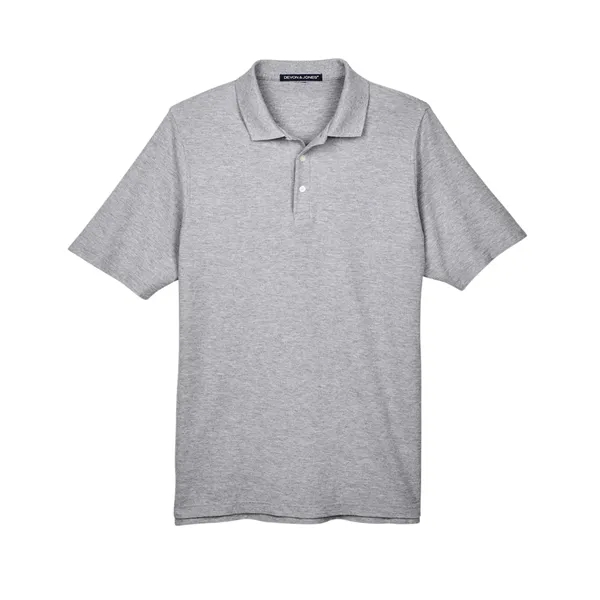

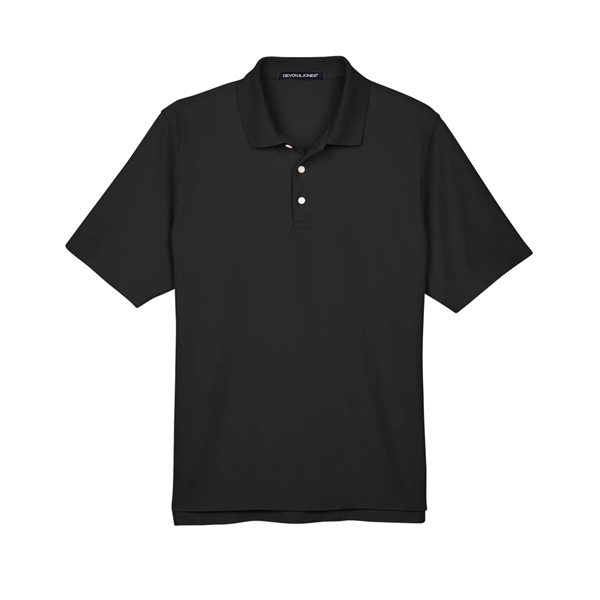
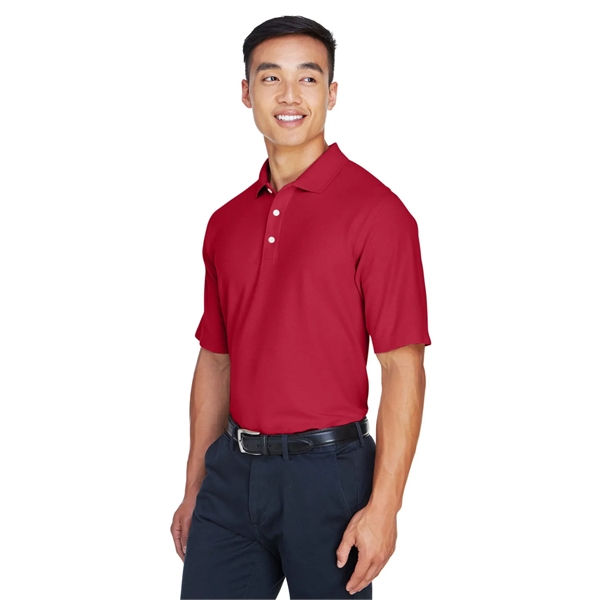

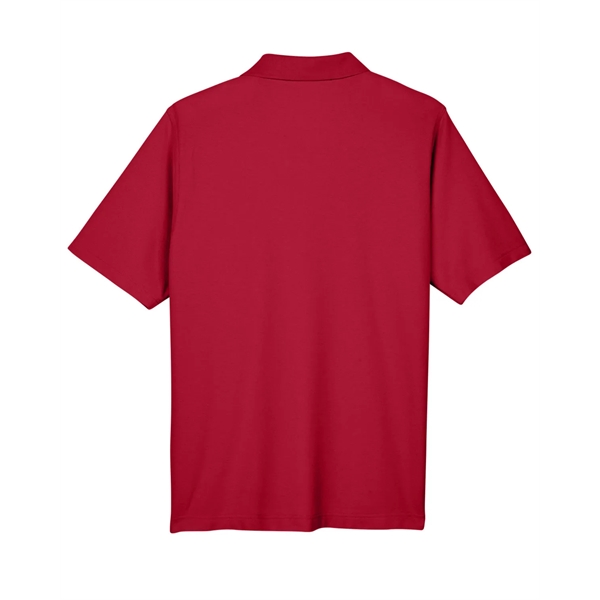

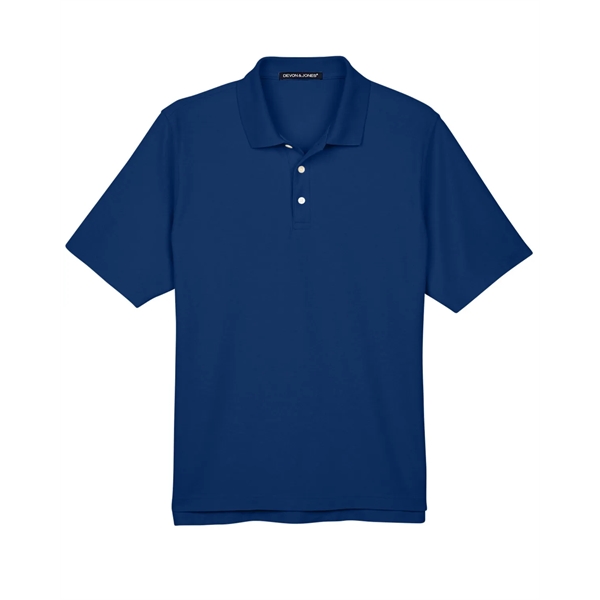


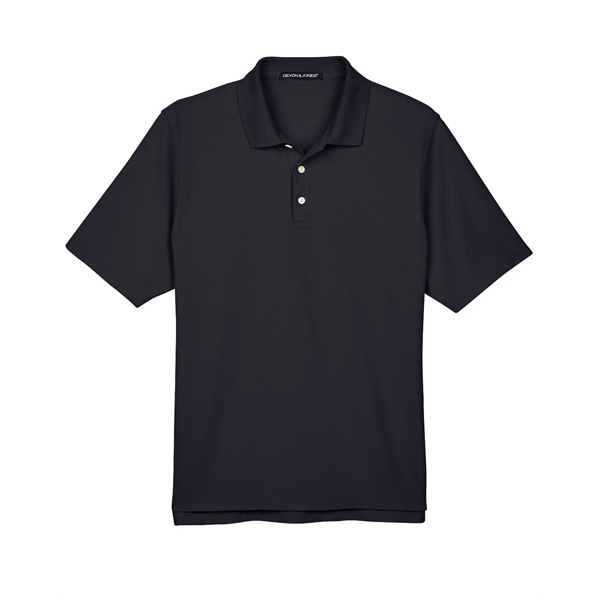


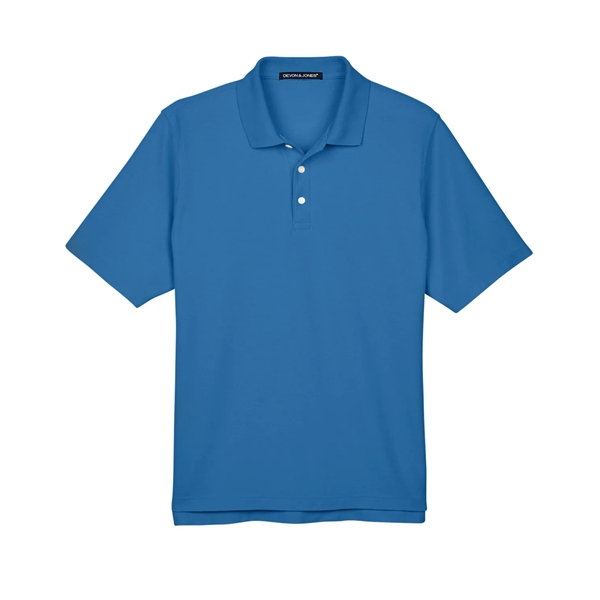
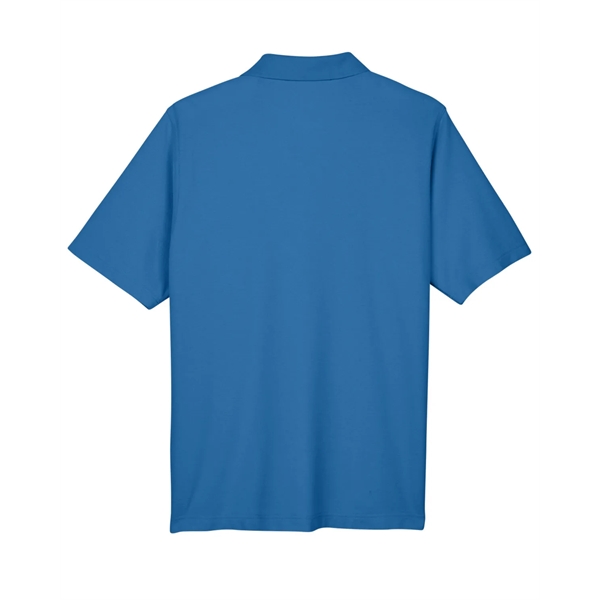
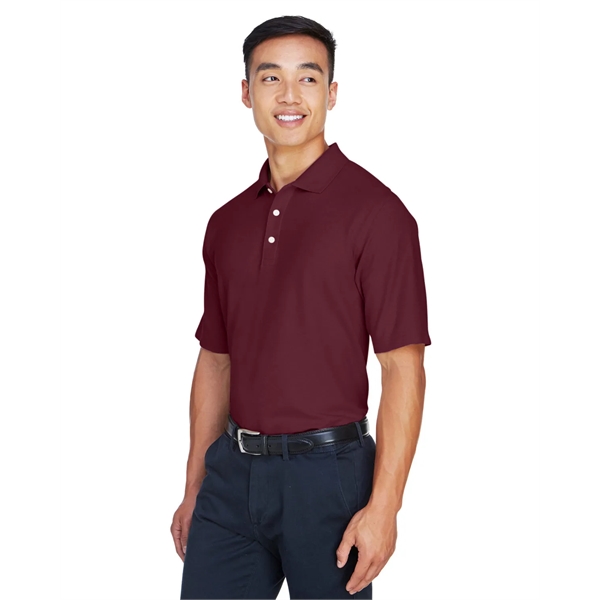
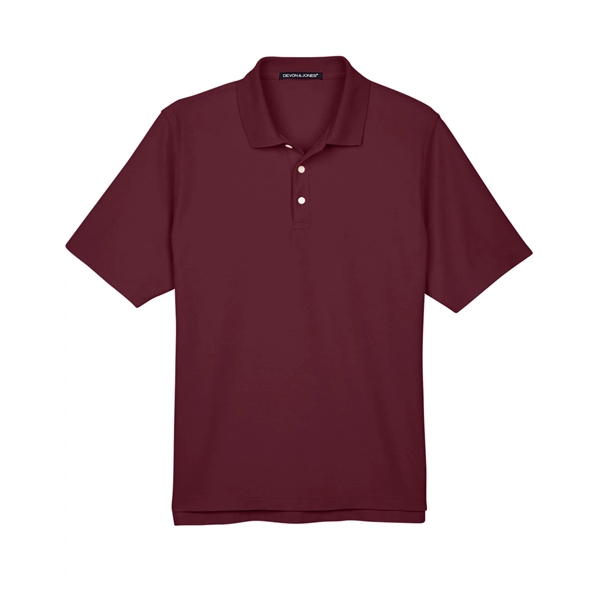


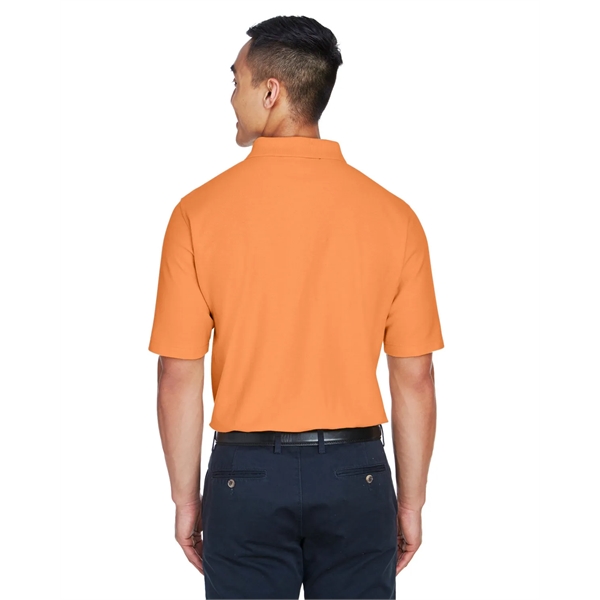
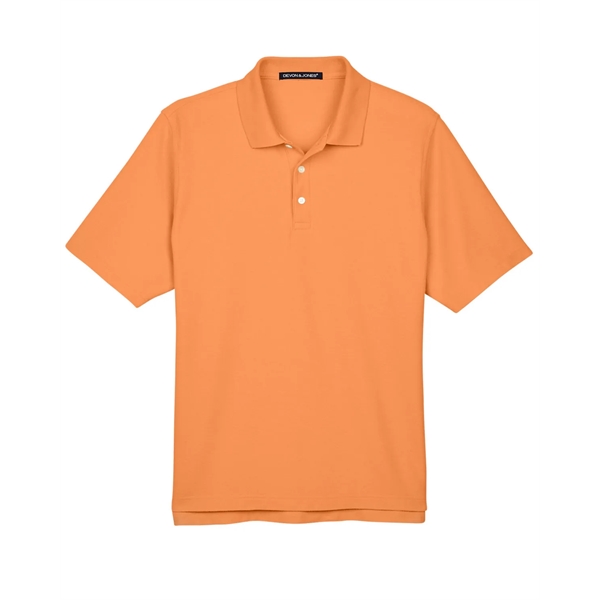


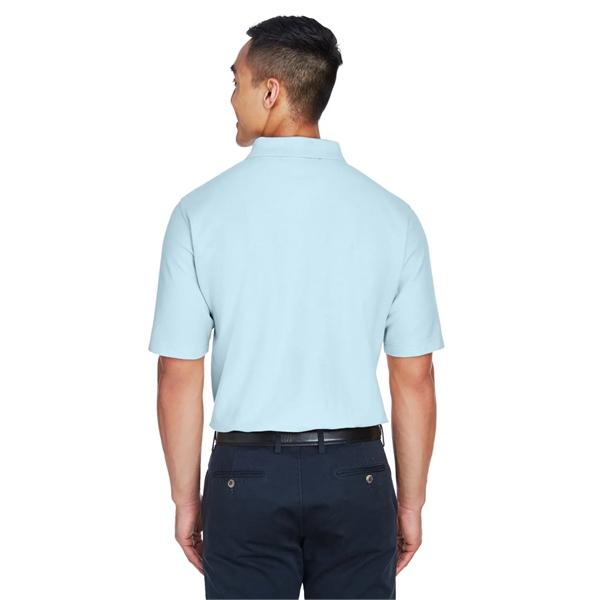


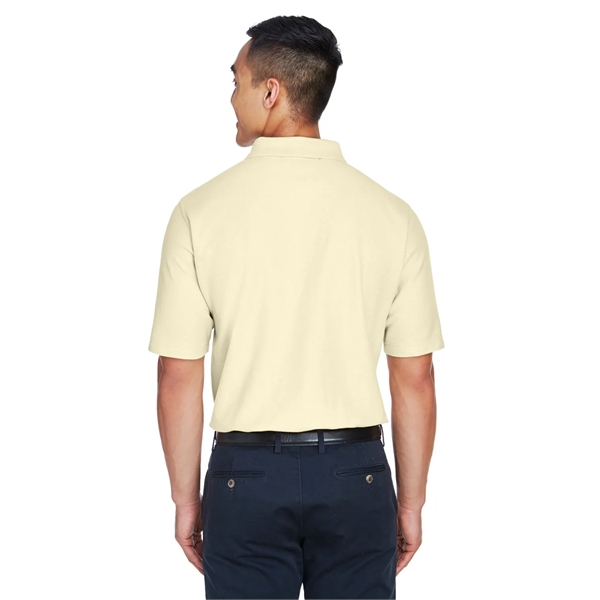
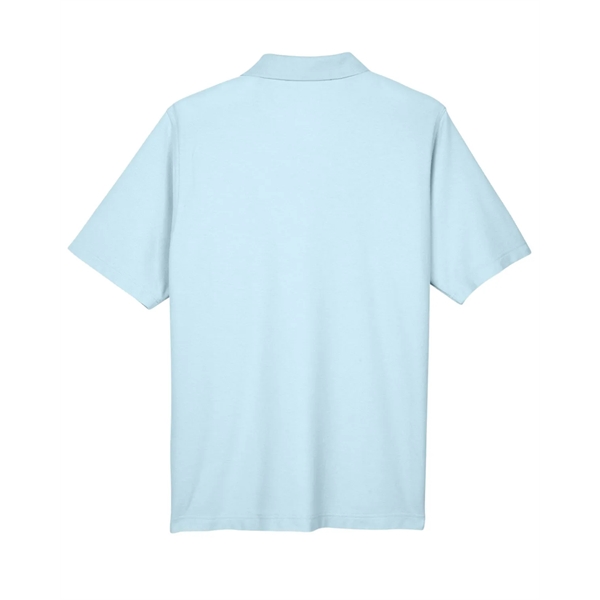

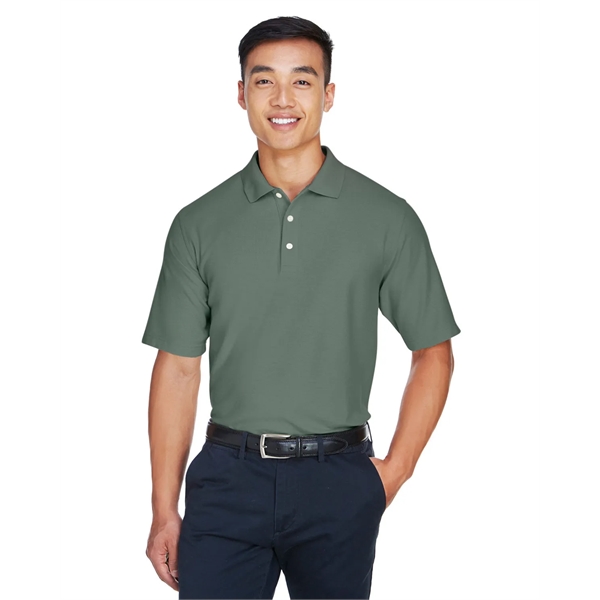

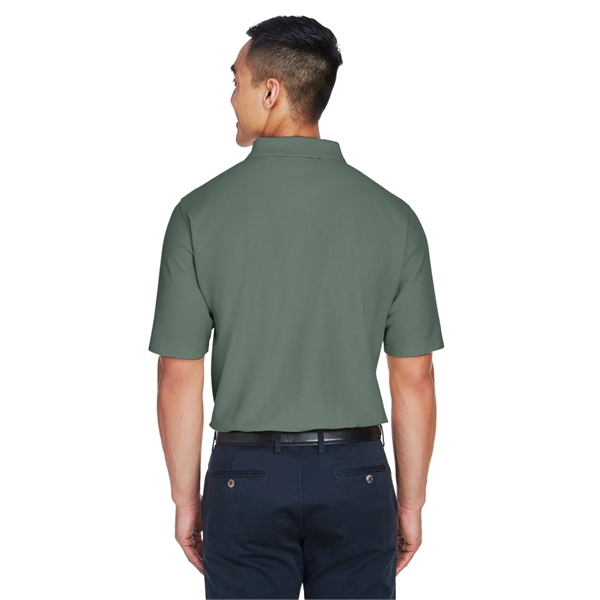
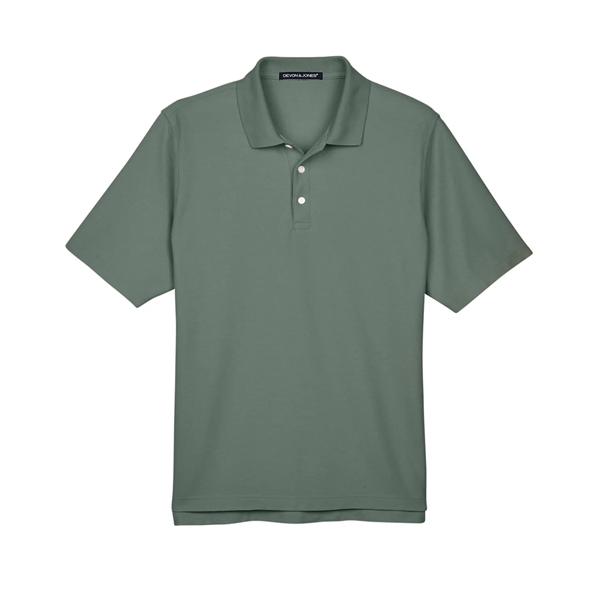

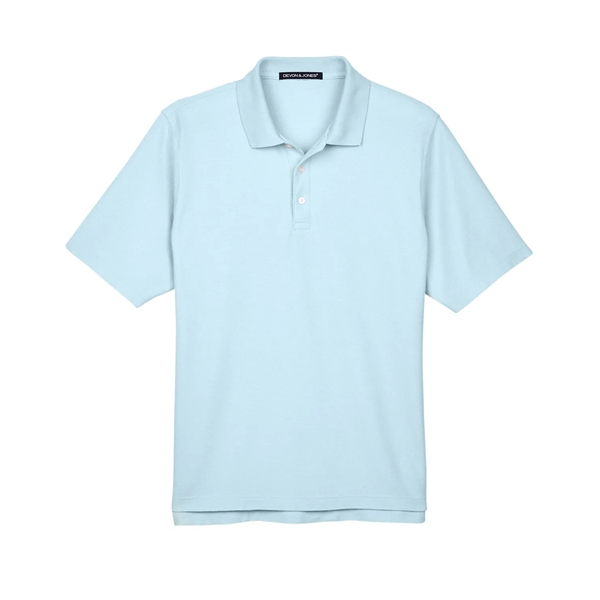

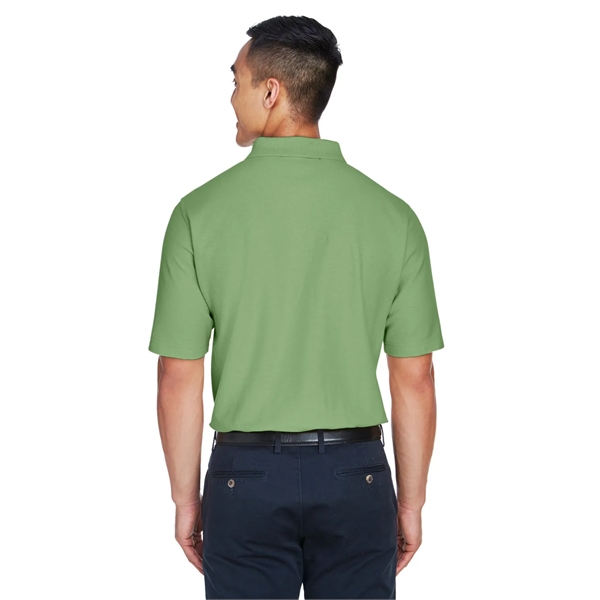

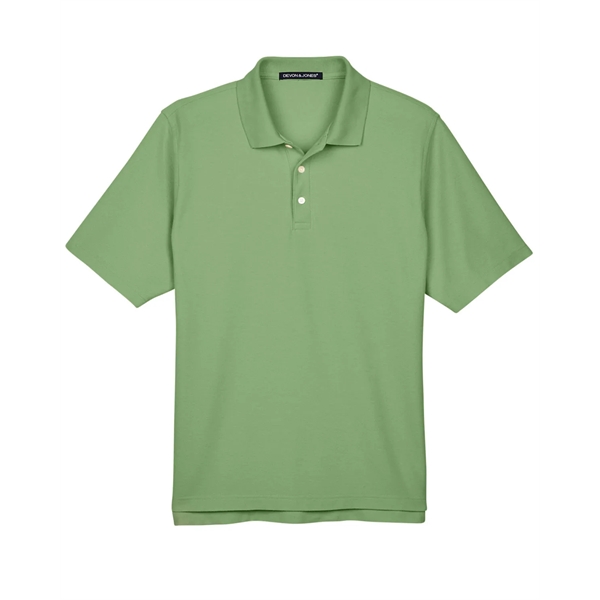
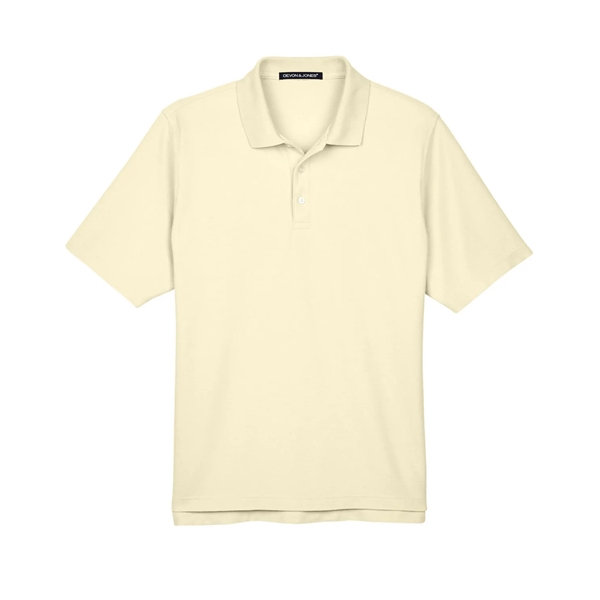

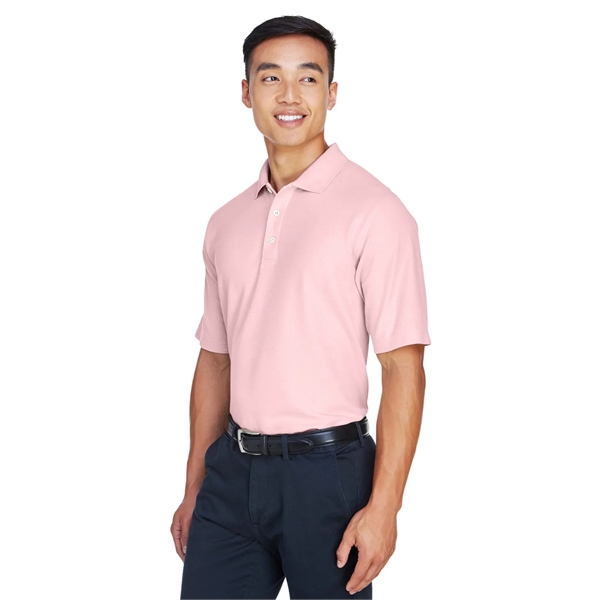
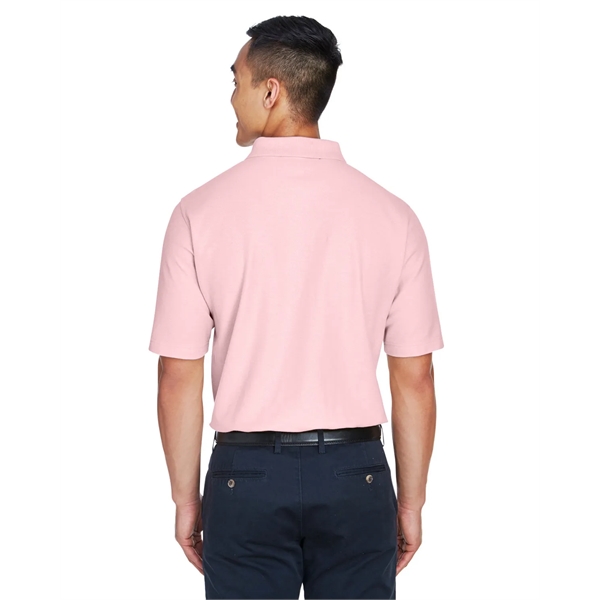
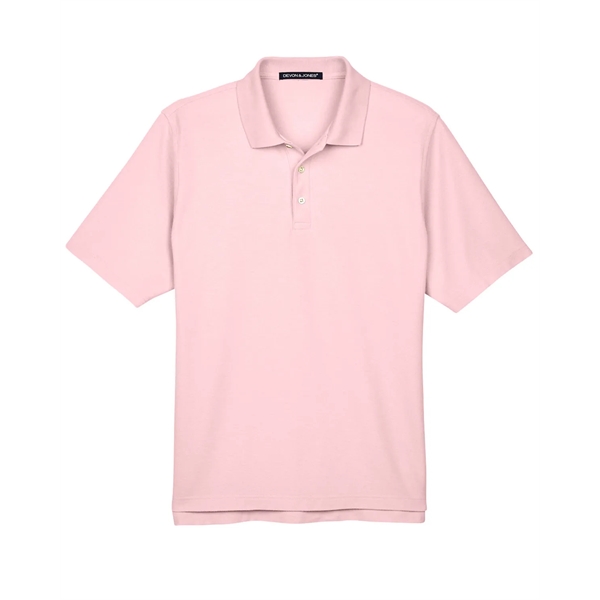
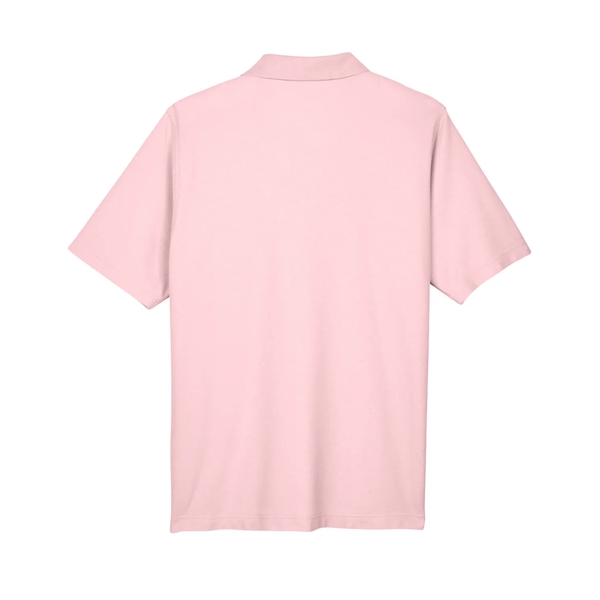


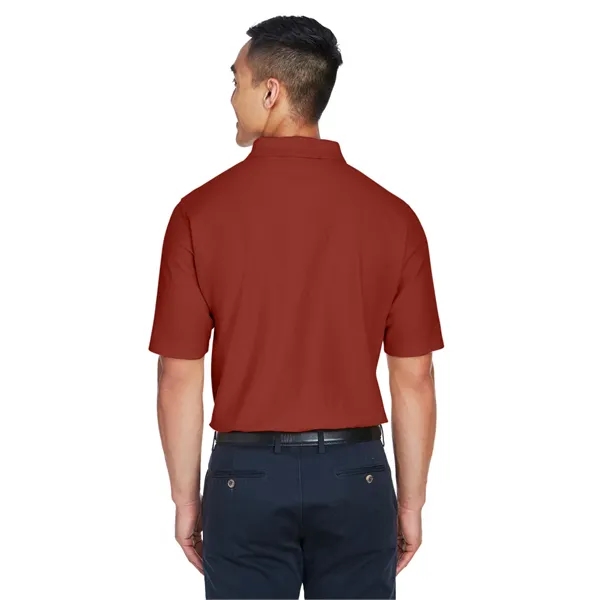
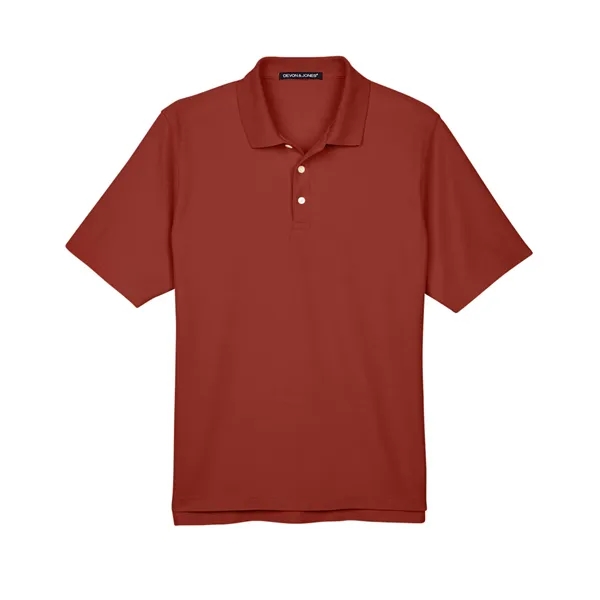

Devon & Jones Men's DRYTEC20™ Performance Polo
CPN-551231524
6.3 oz./yd2 / 215 gsm, 100% combed cotton pique with EZ Cool wicking technology; no-pill, no-fade, no-shrink, no-curl collar, no-wrinkle performance;Active fit; Three-button placket;
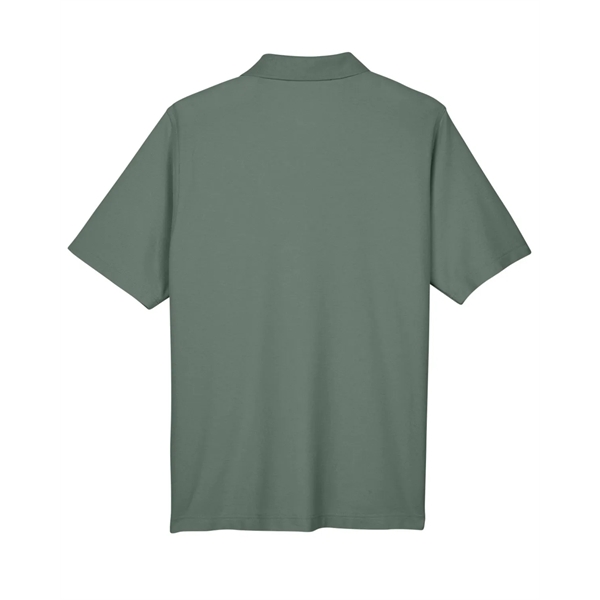
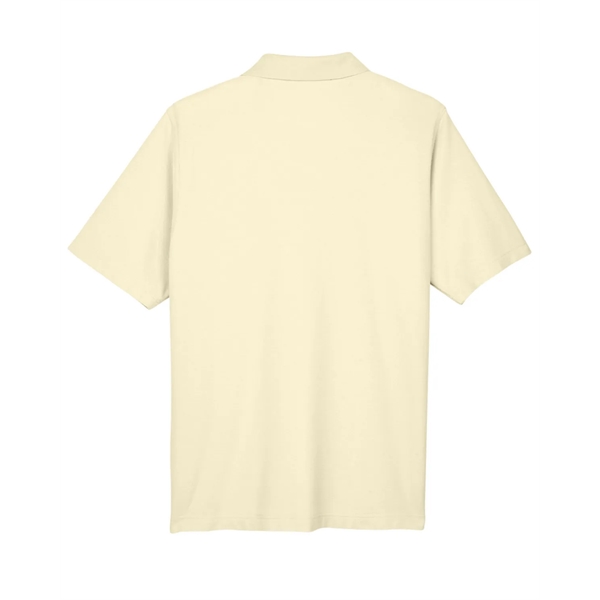
Colors
White, Graphite, Grey Heather, Black, Red, True Royal, Navy, French Blue, Forest, Burgundy, Pink, Rust